As an Amazon Associate, we earn from qualifying purchases. Some links on this site are affiliate links at no extra cost to you. Our recommendations are based on thorough research and editorial judgment.

Why Underwater Video Turns Blue/Green: Color Absorption Explained
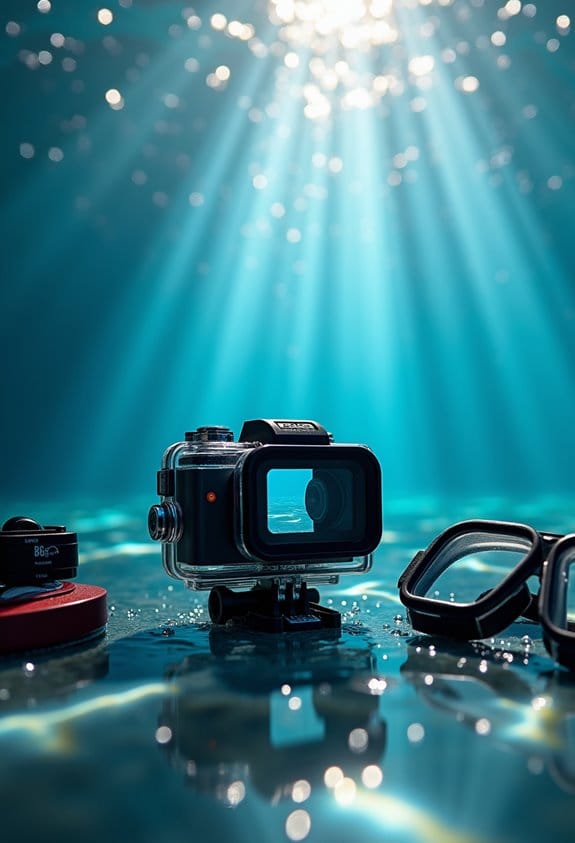
Underwater video turns blue or green primarily due to light absorption in water. Longer wavelengths, like red and orange, are absorbed within the first 5 meters, leaving only shorter wavelengths, such as blue and green, visible. This results in footage that lacks vibrant colors. To counteract this, use red filters or artificial lights during filming. These techniques help restore the true colors of the underwater environment, enhancing your footage. Discover more about optimizing underwater visuals and techniques.
Key Takeaways
- Underwater video appears blue/green due to the absorption of longer wavelengths, like red, which vanish within the first 5 meters of depth.
- Red and orange light are absorbed quickly, making those colors less visible underwater.
- Blue and green wavelengths penetrate deeper, maintaining visibility even in greater depths.
- Water clarity and particles can further affect color visibility and vibrancy in underwater footage.
- Using filters and artificial lighting can help restore lost colors and enhance underwater video quality.
The Science Behind Why the Ocean Appears Blue
You may be interested


You know, many people wonder why the ocean looks so blue, and it’s actually a fascinating mix of science and nature. The ocean’s color stems from how light interacts with water. When sunlight hits the water, it’s the longer wavelengths—think reds, oranges, and yellows—that get absorbed first. For instance, red light fades away quickly, usually disappearing within the first 5 meters of depth. As you go a bit deeper, between 10 to 15 meters, you’ll also lose the oranges and yellows.
So, what does this mean for the ocean? Well, blue and green wavelengths can penetrate much deeper, which is why we often see those vibrant blues. Plus, blue light scatters more efficiently in water, giving the ocean that lively blue appearance we all love. Interestingly, in coastal areas—think of a bay with lots of algae—the water can appear greener. That’s because those algae and other particles reflect yellow pigments into the water.
In a nutshell, the ocean’s stunning colors come from factors like depth, how clear the water is, and the presence of marine life. Using a waterproof action camera can help capture these amazing underwater colors accurately. The next time you’re at the beach, take a moment to appreciate these amazing interactions happening right before your eyes! It’s a beautiful reminder of how nature works.
How Does Light Absorption Change Underwater Footage?
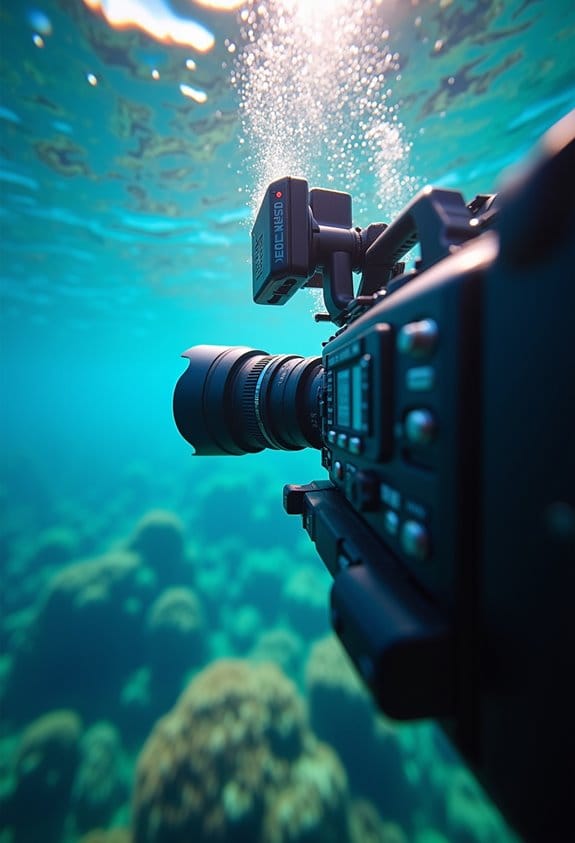
Hey! Have you ever thought about how light absorption changes when you’re filming underwater? It’s pretty fascinating. When you’re submerged, the way colors show up in videos shifts quite a bit. You see, water absorbs light differently than air does, and longer wavelengths, like red and orange, vanish pretty quickly—especially after just five meters. So, instead of rich reds and warm tones, you’ll notice that most underwater footage leans heavily towards blue and green hues.
To make those colors pop a little more in your videos, a simple trick is to use a red filter. This helps bring back some of that missing red light, making your shots more vibrant. Plus, when you get deeper, artificial lights are really helpful. Many underwater cameras don’t handle the blue tint very well, so adding a light can improve your results significantly. Using underwater strobes with powerful illumination can greatly enhance the color and clarity of your footage.
How Different Wavelengths Affect Underwater Color Visibility
Hey there! If you’re into capturing stunning underwater footage, understanding how different wavelengths affect underwater color visibility is super important. You see, longer wavelengths—like red light—don’t hang around long underwater. They get absorbed pretty quickly and vanish around 5 meters down. That’s why when you’re filming, it’s a good idea to lean on shorter wavelengths like blue and green, which swim deeper and keep those vibrant colors popping!
For example, if you’re using a blue filter on your camera, it can really help preserve the vividness of marine life. Picture coral reefs and colorful fish that actually look like what you see in real life! But keep in mind, as you descend, the overall light gets dimmer. Adjusting your lighting setup is key to maintaining that vibrant look.
Also, don’t forget that water clarity plays a huge role too. Suspended particles and even tiny organisms can cloud your view, so being aware of those will help you optimize your shots. Always aim to capture the true colors of the underwater world—it’s essential for accurate representation. Speaking of representation, let’s talk about how different underwater environments can influence your filming strategy!
Using specialized color correction filters is essential to counteract the color loss caused by water absorption and to enhance underwater footage quality.
Color Correction Techniques for Underwater Footage
Capturing vibrant underwater footage is all about mastering color correction techniques to bring back the true colors of the ocean. Water tends to absorb certain colors, leaving your videos looking a bit dull and blue-green. To combat this, physical filters like red or magenta can work wonders—especially at depths between 5 to 25 meters. They help balance the color temperature and make everything pop!
If you’re venturing deeper, consider using underwater video lights that emit white light. These lights can really help illuminate colors, particularly if you’re shooting close-ups of tiny critters in macro photography. Once you have your footage, digital color correction software becomes your best friend. You can tweak the color channels to restore those missing reds and yellows while toning down the blues to get a more balanced look. Combining both physical filters and digital adjustments often leads to fantastic results, enhancing the beauty of your underwater adventures. Modern underwater video lights often feature multiple light modes, allowing you to adapt brightness and color settings to optimize footage quality in varying underwater conditions.
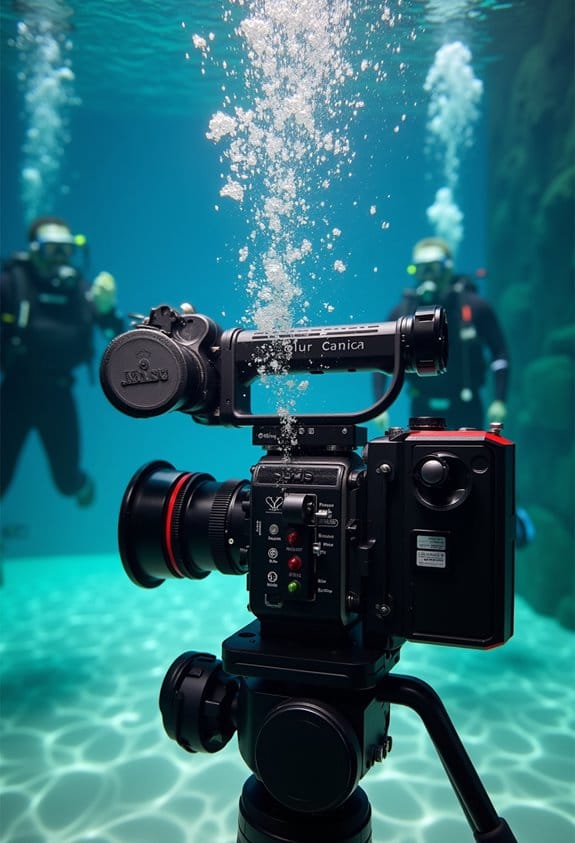
What Lighting Should You Use for Underwater Exploration?
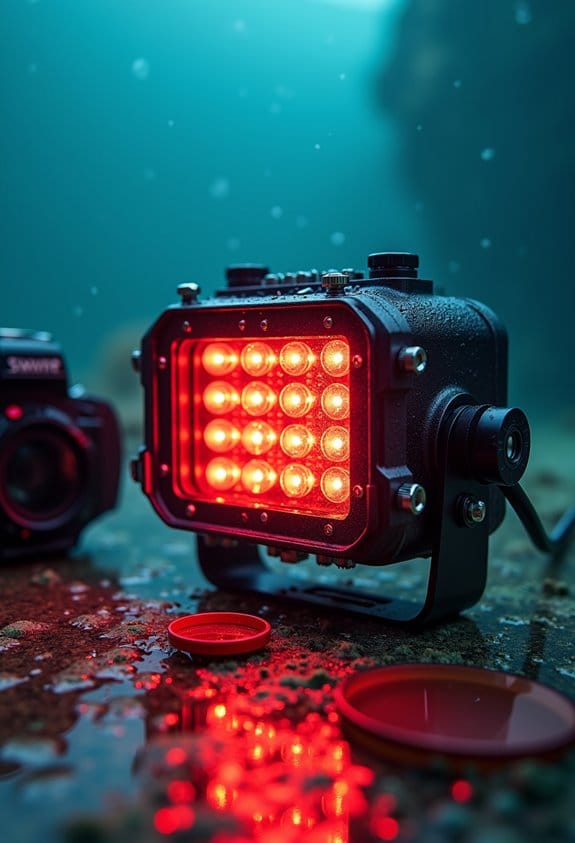
When it comes to underwater exploration, picking the right lighting is super important for capturing those vibrant, detailed shots. Since water absorbs colors differently, using artificial lighting helps bring back the full spectrum, making everything pop. Think about video lights with a lumen output between 2500 and 15,000; it really boosts your visibility. For example, a good light setup can help you see the vivid colors of coral that might otherwise look dull in deep water.
You’ll also want a beam angle between 90 to 120 degrees. This wider spread lets you cover more area, which is great when you’re trying to illuminate a larger scene or a school of fish. Aim for a color temperature around 5000-6500K to mimic natural daylight; this ensures the colors look as true as possible.
One thing to keep an eye on is the burn time of your lights, especially since many might only last about an hour on higher settings. Staying on top of battery changes is key to avoid the frustration of losing light at a critical moment during your dive. It’s all about maintaining visibility and keeping your equipment safe as you explore the underwater world!
Additionally, protecting your gear from damage is crucial, so consider using protective mechanisms like rubber coatings or padding to prevent scuffs during handling and transport.
Frequently Asked Questions
Why Are My Underwater Photos Green?
Underwater photos appear green due to underwater photography challenges, light refraction effects, and water color variations. To overcome color distortion, a photographer can employ the best underwater cameras and enhance underwater hues with editing techniques.
What Color Gets Absorbed First in the Ocean?
In ocean depths, red light is absorbed first due to light attenuation. This affects the color spectrum in underwater photography, where water clarity and color filters play a role in how marine life appears.
Why Does Color Change Under Water?
Color changes underwater due to varying light wavelengths absorbed by water, impacting color perception. In marine environments, underwater photography often requires color correction to enhance visual clarity, revealing the vibrant hues of aquatic life.
Does Color Affect Water Absorption?
Like a painter’s palette, color influences water absorption intricately. The color spectrum dictates light penetration, with depth effects altering water clarity and visual perception, affecting marine life and the efficacy of color filters used in underwater imagery.


