As an Amazon Associate, we earn from qualifying purchases. Some links on this site are affiliate links at no extra cost to you. Our recommendations are based on thorough research and editorial judgment.
Water Inside Your Action Camera: Immediate Steps to Reduce Damage
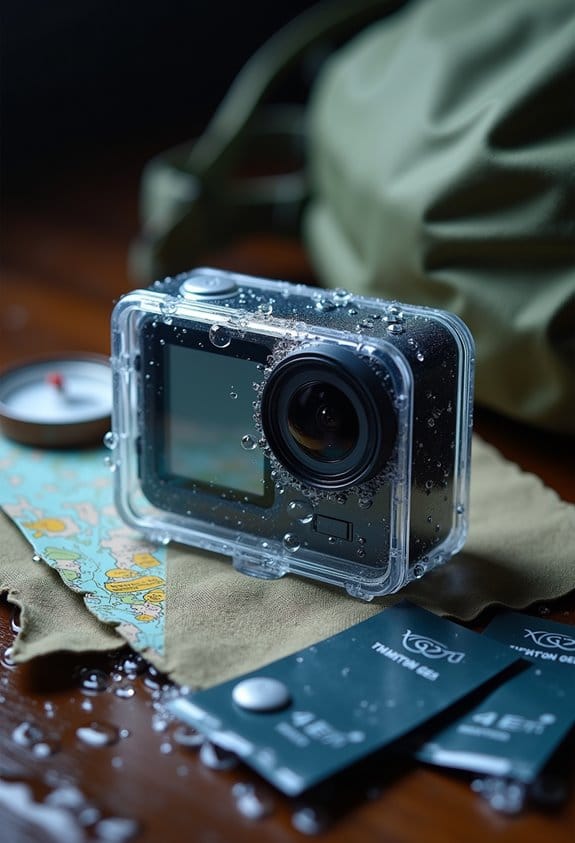
If water enters your action camera, act quickly. Immediately power off the device to prevent short-circuiting. Remove all batteries and memory cards; this minimizes damage. Hold the camera upright to keep water from spreading. Rinse it gently with fresh water to eliminate contaminants, then dry it with a soft cloth. Store it in good airflow, with the back open, to aid drying. If problems persist, professional help may be necessary, and more preventative tips follow.
Key Takeaways
- Turn off the camera immediately to prevent short-circuiting and further damage.
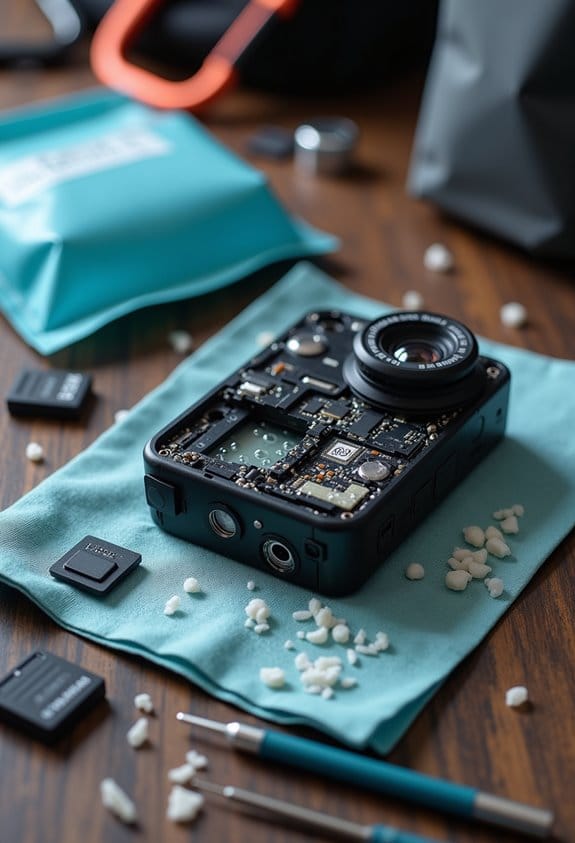
- Remove batteries and memory cards to minimize damage and allow for drying.
- Rinse the camera gently with fresh water to clear out salt or dirt.
- Place the camera upright in a dry area with good airflow to aid drying.
- Seek professional repair if water is visibly inside the lens or if the camera stops functioning.
How to Identify Water Damage in Your Action Camera – Signs to Watch For
You may be interested


Hey! So, let’s talk about how to spot water damage in your action camera. It’s crucial to keep an eye out for signs early on because catching it in time can save you a lot of headaches down the line. For starters, when you submerge your camera, watch for bubbles coming from the back. If you see that, it means water has probably snuck in.
Another thing to look out for is condensation inside the viewfinder or film counter window. If you notice anything misty in there, that’s a big red flag that moisture is messing with your camera’s insides. You should also try out the camera’s buttons and mechanical functions. If the film isn’t advancing smoothly, it might be due to water getting into the mechanism.
Keep an ear out for any unusual sounds or behaviors as well, like unexpected strobe flashes or if your camera shuts off on its own. These could all indicate that moisture has wreaked havoc on the electronics. If you do notice any of these signs, it’s really important to get your camera checked out ASAP to minimize further damage. Using underwater filters can help prevent some types of damage by improving visibility and reducing the need for extensive camera adjustments underwater.
Immediate Steps to Take When You Find Water Inside Your Camera
Finding water inside your camera can be a real panic moment! The first thing you want to do is turn off the power right away to avoid any risk of short-circuiting the internal parts. Make sure to hold the camera upright so the water stays contained in less damaging areas while you get ready to clean it up.
Next, give your camera a gentle rinse with fresh water. This step is especially important if you were near saltwater or dirty environments, as it helps wash away any contaminants. Once you’ve rinsed it off, take out the batteries and any film right away. Leaving them in can escalate the damage.
After rinsing and removing any components, place your camera in a dry spot with good airflow, but remember to keep the back open! You don’t want to use direct heat like a hairdryer, as that can cause more problems. By following these steps, you can significantly cut down on the risks of long-lasting water damage and keep your camera ready for your next adventure. For future protection, consider investing in a waterproof camera case designed to prevent such incidents entirely.
Rinse Your Camera Properly to Avoid Corrosion
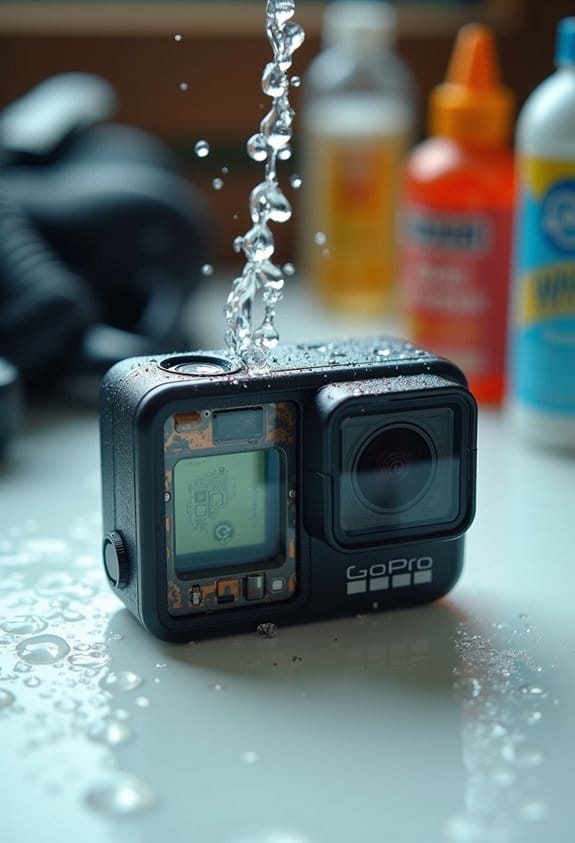
Hey there! If you want to keep your action camera safe from corrosion after it’s been in the water, make sure to rinse it off with fresh water right away. Just think about it—if you’ve been swimming in the ocean, your camera probably picked up some saltwater that can really mess things up over time. To rinse it properly, go ahead and submerge the whole camera, and don’t forget to press those buttons and knobs to get rid of any trapped saltwater inside.
Oh, and steer clear of crowded rinse tanks. They can lead to more damage or even flooding your gear. After a good rinse, take a soft cloth to dry off the exterior before putting anything back together, like the battery or lens. Just double-check that the camera door is securely closed. To finish off, store your camera upright while it dries. This helps keep any leftover water contained and further reduces the risk of corrosion. Using a case made from PMMA hard plastic can also help protect your camera from impacts and environmental damage during use.
Effective Drying Techniques to Minimize Damage Before You Seek Help
So, let’s talk about what to do if your action camera gets wet, especially if it’s been splashed with saltwater or mud. The first thing you want to do is rinse it off thoroughly with fresh water. This helps wash away any grit or salt that could cause damage. Once that’s done, act quickly! Turn off the camera right away and keep it upright. This way, any leftover water won’t seep into sensitive areas.
Next, you’ll want to remove any batteries or attachments—like mounts or lenses—so you minimize any chances of water making its way inside. After that, grab a hair dryer. Set it to low and cool—not hot!—and gently blow air over the camera. Just make sure to keep all the openings uncovered so moisture can escape.
Finally, to help it dry out completely, place the camera with its back door open in a cardboard box. Set the box in a dry, warm spot—like near a heater but not too close—to let the camera air out. This will really help before you think about taking it to a repair shop. Properly drying it out can save you from a costly fix! Using an air blower with a one-way valve design can also be an effective, gentle way to remove moisture without pushing it further inside.
When to Call in the Pros for Camera Repairs
Hey there! So, if your action camera starts showing signs of water damage, even after you’ve tried drying it out, it’s definitely time to call in the pros for camera repairs. For instance, if you spot visible water inside the lens or your camera suddenly shuts off on its own, those are clear signs that something’s not right inside.
When that happens, reaching out to a professional repair service can really save you from bigger problems down the road. Think about it: if your camera got splashed with saltwater, the corrosion can tackle components in ways you might not see right away. Professionals have the right tools and know-how to inspect every inch of your camera and fix the tricky bits that the average user might struggle with.
Plus, if your camera is still under warranty but certain damages aren’t covered due to improper repairs, using a professional service can help you keep your options open for future warranty claims. To find a reliable repair service, just search online for reviews or ask around in photography forums—there are specialists out there who will take great care of your camera!
It’s also good to remember that investing in high-quality protective housings can prevent water damage from occurring in the first place, helping to safeguard your gear during underwater activities. So, let’s wrap up here. Next, I’ll share some tips on how to prevent future water damage to your beloved gear.
Preventative Measures for Future Water Exposure
If you’ve got an action camera, you definitely want to keep it safe from water damage, right? Preventing future water exposure is key to making sure your camera runs smoothly and lasts a long time. One easy thing you can do is regularly clean the O-rings. Make sure they’re free of debris—think of these as the door seals keeping water out. To give them an extra layer of protection, apply a light coating of grease, which helps create a secure seal.
Another tip is to keep an eye on those O-rings for any signs of wear or damage. If they start looking worn out, it’s best to replace them—especially the user-replaceable ones, which you should do at least once a year. This simple step can drastically reduce your chances of flooding.
If you’re at the beach and your camera gets splashed with saltwater, rinse it off with fresh water right away. This removes the corrosive salt, which can be really harmful over time. Also, be careful when rinsing your gear; overcrowding the rinse tank with other equipment can lead to bumps and bruises that might let water in.
Finally, always store your camera in a dry, cool place and check it regularly for any signs of wear or potential issues before you head out for a swim or a surf. By staying on top of these small tasks, you’ll be setting yourself up for many fun adventures without the worry of water damage. Speaking of outdoor fun, it helps to know the best waterproof cases for your next trip, such as those with a waterproof depth rating that can go as deep as 60 meters to provide excellent protection.
Frequently Asked Questions
How to Save a Camera From Water Damage?
To save a camera from water damage, one must prioritize camera protection by swiftly turning off power, removing batteries, and rinsing with fresh water. Seeking professional repair is advisable for thorough assessment and restoration of functionality.
How to Get Rid of Water Inside a Camera?
Moisture absorption becomes urgent when water infiltrates a camera. Swiftly remove components, dry thoroughly, and guarantee all ports are open. Patience is key as lingering moisture can wreak havoc; a careful approach may salvage the device.
Will Water in the Camera Go Away on Its Own?
Water in the camera will not evaporate on its own. If moisture lingers, it can lead to corrosion and damage. Immediate action is necessary to prevent further issues and enhance recovery chances.
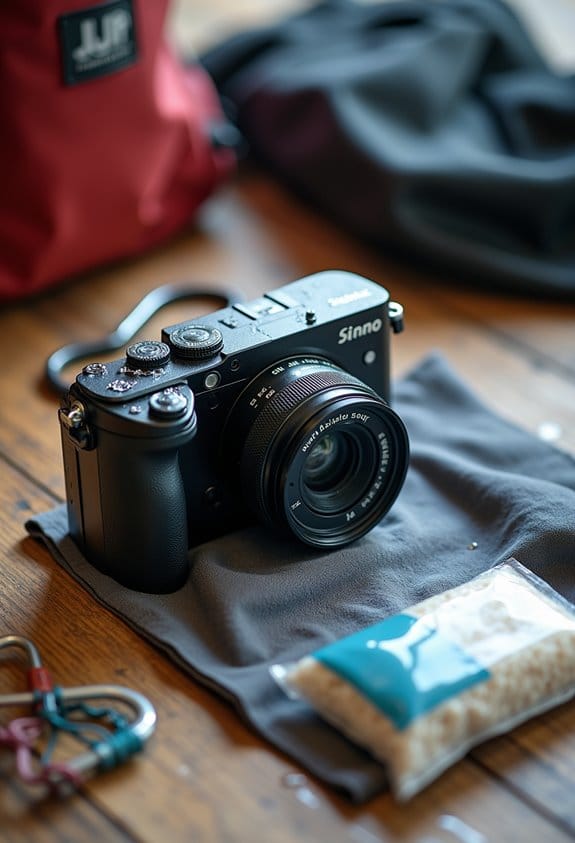
How to Get Moisture Out of a Trail Camera?
Ironically, moisture removal doesn’t happen by wishing it away. To effectively clear moisture from a trail camera, promptly remove its battery, use uncooked rice or silica gel, and leave it to air-dry in ventilated surroundings.