As an Amazon Associate, we earn from qualifying purchases. Some links on this site are affiliate links at no extra cost to you. Our recommendations are based on thorough research and editorial judgment.

Helmet Mounting Basics: Placement, Tilt, and Safety Considerations
Proper helmet placement is essential for maximum safety. Verify the helmet fits snugly and covers your forehead, allowing two fingers between your eyebrows and the helmet edge. Adjust the straps to form a V shape just below your ears. Regularly check for stability by performing the “Eye-Ear-Mouth” test and verifying no excessive movement occurs when shaking your head. Following these guidelines prevents injury and enhances comfort. Understanding helmet certifications and maintenance will further improve your safety on rides.
Key Takeaways
- Ensure the helmet sits level and snugly on the head to avoid obstructed vision and ensure stability during use.
- Position mounted accessories, like cameras, to avoid interference with helmet safety or functionality.
- Adjust tilt for optimal viewing angle while ensuring it does not compromise helmet fit or safety.
- Verify that mounts are designed specifically for helmet use to maintain integrity and protection.
- Regularly inspect helmet and accessories for any damage or wear that may affect safety performance.
Why Proper Helmet Placement Is Vital for Safety

You may be interested


Hey there! Let’s chat about helmet placement—it’s super important for keeping you safe, especially during activities that might put your head at risk, like biking or skateboarding. You want to make sure your helmet fits just right. It should sit snugly on your head, covering your forehead well. If it’s too low or too high, it might not protect you properly if you take a fall.
Here’s a quick tip: when you put your helmet on, you should be able to fit two fingers between your eyebrows and the helmet’s edge. This simple check ensures it’s not sitting too far back on your head. Oh, and don’t forget about the side straps! They should form a V-shape just below your ears—this keeps the helmet from moving around if you take a tumble. Using a snug helmet fit is also essential when mounting devices like helmet mount cameras to maintain comfort and safety.
Step-by-Step Guide to Achieving the Right Helmet Fit

Hey there! Before you head out on any adventure, it’s super important to make sure your helmet fit is just right. This little step can really protect your head from injuries. To start, grab a flexible tape measure and wrap it around your head just above your eyebrows and ears to get your head circumference. Once you have that number, check the sizing chart from the helmet manufacturer—you’ll find the perfect size for a snug fit.
Next, let’s make sure the helmet sits right on your head. It should be level, covering your forehead while leaving about two fingers’ width between your eyebrows and the edge of the helmet. If it feels a bit loose, don’t worry—adjust the chin strap until it’s snug without being uncomfortable. You should be able to fit one finger between the strap and your chin comfortably. And a quick tip: the side straps should form a “V” right below your ears. This setup ensures maximum protection while you’re wearing it.
Getting your helmet fit right may seem like a small detail, but it makes a huge difference in protecting you out there. So, once you have the perfect fit, you’ll be ready to take on your next adventure with confidence! For extended outings, consider having reliable backup power solutions like high-quality batteries to ensure your action camera keeps capturing every moment.
Check Your Helmet for Stability

Hey! So, let’s talk about checking your helmet for stability. It’s super important to make sure your helmet fits just right before you hit the road. First things first: your helmet should sit level on your head, covering your forehead without getting in the way of your vision.
Once it’s in position, you’ll want to adjust the straps for a snug fit. Here’s a quick trick: do the “Eye-Ear-Mouth” test. The side straps should create a V shape just below your ears. And don’t forget about the chin strap—there should be enough room for just one finger between your chin and the strap.
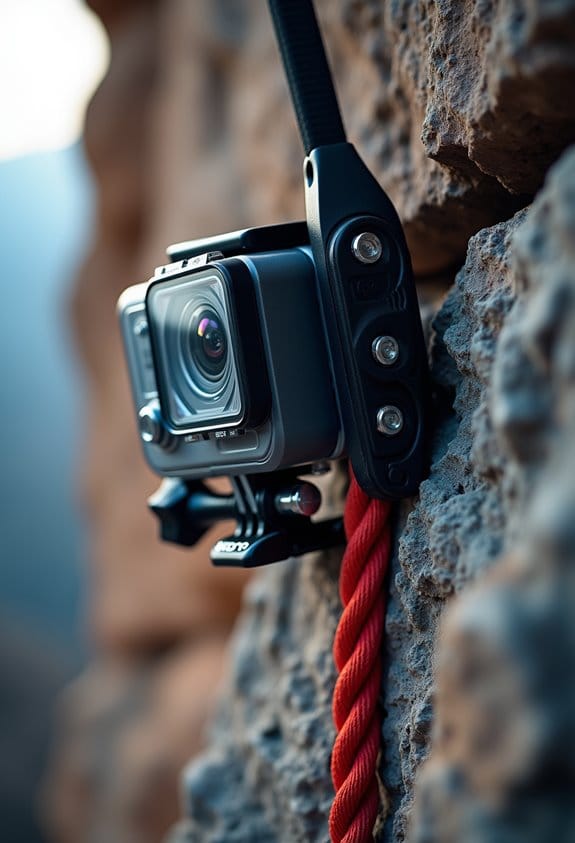
Next, let’s see how stable it is. Give your head a little shake from side to side and up and down. Ideally, your helmet should hardly move at all. It should feel snug against the back of your head. Also, keep an eye on it for any signs of wear or damage—things like cracks or loose straps can really compromise your safety while riding. Additionally, when mounting a camera, consider using anti-slip designs on your helmet mount to ensure secure attachment without compromising stability.
Avoid These Common Helmet Fitting Mistakes

Many riders don’t realize that they might be making common helmet fitting mistakes that could seriously impact their safety. When you put on your helmet, make sure it sits about two finger-widths above your eyebrows—this keeps your vision clear and protects the areas that need it.
Next, let’s talk about those chin and side straps. You want them snug, but not so tight that you feel uncomfortable. Think of it like wearing a seatbelt: it should keep you secure without feeling like a vice grip. A little tip? After you adjust them, do a quick head shake to see if the helmet stays put. If it shifts, it’s time to readjust.
Comfort is key too. A helmet that fits well should feel snug all around without creating pressure points, which can be distracting when you’re riding. Remember to check sizing charts and try on different helmets, because a poor fit can really compromise how well it protects you in case of an impact. So, when you’re gearing up for a ride, take those few extra minutes to get it right—your head will thank you later! Additionally, using a helmet with shock-resistant materials can provide better protection in rough environments.
The Importance of Regular Helmet Maintenance and Replacement

Hey there! So, let’s chat about helmet safety—it’s not just about how snug it fits on your head. Regular helmet maintenance and knowing when to replace it are key to keeping you safe while riding. Every now and then, you should give your helmet a good once-over. Take a look for any cracks, dents, or just general signs of wear and tear that could affect its performance. If your helmet takes a big hit, like you fall hard during a ride, it’s time to toss it and get a new one right away. Even if it looks fine on the outside, there could be some hidden damage on the inside that you can’t see.
Most manufacturers recommend replacing your helmet every 3 to 5 years, just to be on the safe side. If you’re not sure how old yours is, it’s better to get a new one than risk it not doing its job. Talking about care, make sure to store it in a cool, dry spot away from direct sunlight or heat. Extreme temperatures can break down the materials, making your helmet less effective over time.
Taking these simple steps helps ensure that when you wear your helmet, it’s doing its best to protect you. Proper maintenance routines for helmets are similar to those recommended for motorized sliders, which also require regular cleaning and inspection for optimal performance. Now, speaking of protection, let’s move on to some other gear that can make a big difference too!
Learn More About Helmet Safety and Fitting Techniques
Hey there! Let’s chat about helmet safety and how to make sure it fits just right. A good helmet is super important when you’re riding, as it keeps your head safe from injuries. When you put it on, it should sit level on your head, so it’s covering your forehead without tilting back.
Now, to make sure it’s snug and secure, check that the straps form a V shape just below your ears. You’ll want to adjust the chin strap until it fits snugly, but still allows space for one finger between your chin and the strap. A quick fit test is to shake your head a bit; if the helmet wiggles around, it’s time to tweak it!
If the fit isn’t quite right, you can use fitting pads or rings that typically come with the helmet to help you get that comfy but secure feel. And don’t forget, safety is all about maintenance, so give your helmet a regular inspection for any cracks or dents. If you see any damage, it’s best to replace it to keep your head well-protected.
Speaking of protection, let’s transition into understanding other gear that complements helmet safety, like proper padding and reflective clothing. When filming your adventures, using head straps with adjustable straps ensures your camera stays secure and comfortable throughout your activity.
Protect Yourself: Understanding Helmet Certifications
Hey there! Choosing the right helmet is super important for any rider’s safety, and knowing about helmet certifications can really help you make a smart choice. So, what’s the deal with certifications like DOT and Snell? Well, a DOT-certified helmet meets basic federal safety standards, which means it provides minimum protection against head injuries. On the other hand, when you see a Snell certification, it means the helmet has gone through tougher tests for impact and penetration resistance, so it’s likely to offer better protection.
Let’s break it down—when you’re shopping for a helmet, definitely look for those certifications. For example, if you’re racing or doing off-road riding, a Snell-certified helmet can give you that extra peace of mind. And don’t forget about the retention system! This part keeps the helmet snug on your head during a crash, which is crucial. Opting for certified helmets means you’re doing your part to stay safe on the road; going for a non-certified option could leave you vulnerable to serious injury.
Bottom line, always prioritize safety—it really can make all the difference in a tough situation. Once you feel confident about your helmet choice, you can explore more about protective gear that complements it! Additionally, choosing gear with compatibility for accessories can enhance your overall safety and filming experience.
Frequently Asked Questions
What Are the 4 S’s of Helmet Safety?
The four S’s of helmet safety—Size, Shape, Stability, and Strap—are essential for ensuring ideal fit adjustments, impact absorption, and material durability, contributing to safety standards that reduce accident statistics among various helmet types, including child helmets.
What Is the 2 2 2 Rule When Fitting a Helmet on Your Head?
The 2 2 2 rule guarantees proper helmet fit by allowing two fingers between the forehead and helmet, maintaining secure strap positioning, comfort from padding, and stability at the back, promoting safe, adjustable wear during activities.
What Is the 222 Helmet Rule?
The 222 helmet rule guarantees helmet fitting adheres to safety standards. It emphasizes proper adjustment for impact protection through fit testing, maintaining guidelines for different helmet types, and establishing a replacement schedule, particularly for child safety.
What Are the Safety Rules for Helmet?
Safety rules for helmets include proper fit techniques, regular inspection schedules, and adherence to impact resistance standards. Maintenance tips involve choosing safe materials, adjusting chin straps, seasonal wear considerations, and following replacement guidelines and helmet cleaning methods.