As an Amazon Associate, we earn from qualifying purchases. Some links on this site are affiliate links at no extra cost to you. Our recommendations are based on thorough research and editorial judgment.

After Saltwater Use: Rinsing and Drying Steps That Protect Your Gear
After exposure to saltwater, thoroughly rinse your fishing gear with fresh water immediately to remove corrosive salt deposits and debris. Use gentle rinsing techniques, inflating kites before rinsing to dislodge sand. Dry all components completely in a well-ventilated area, utilizing airflow to prevent moisture buildup, especially in moisture-trapping areas like rod guides and reels. Store gear in cool, dry, dark conditions, maintaining its integrity while using protective covers. More tips await to guarantee your gear lasts.
Key Takeaways
- Rinse all gear thoroughly with fresh water immediately after saltwater exposure to remove salt and debris, preventing corrosion.
- Dry gear completely with a soft cloth and ensure good airflow, focusing on moisture-prone areas like rod guides and reels.
- Avoid direct sunlight during drying to prevent warping or fading; allow a full day to ensure all components are fully dry.
- Store gear in cool, dry, and dark areas while ensuring it is organized to prevent collisions and damage during storage.
- Regularly inspect gear and storage conditions, using protective covers and removing fishing line from reels to avoid tangles.
The Importance of Rinsing After Saltwater Use

You may be interested


Hey there! If you’re into fishing, you’ve probably heard this before: rinsing your fishing gear after using it in saltwater is super important! I can’t stress enough how keeping everything clean helps it last longer and function better. Think about it—those salt deposits can really cause a lot of corrosion, and that could mean some pricey repairs or replacements down the line.
So, what’s the best way to rinse your gear? First off, grab your fishing rod and reel and immediately wash them with fresh water. Warm water works wonders, as it helps dissolve the salt without letting it crystallize. Just remember to be gentle—you don’t want to accidentally mess with any sensitive parts. A simple soft cloth or an old toothbrush is perfect for getting into those tricky spots where grime likes to hide.
And here’s a tip: let your gear dry completely in a well-ventilated area. This prevents moisture from sneaking in and causing rust. By regularly rinsing it off, you’re not just protecting your gear, you’re also setting yourself up for plenty of successful fishing trips in the future! Now, how about we chat about some other ways to care for your fishing tackle? Using a waterproof camera bag can also help protect your gear from moisture and salt damage during transport.
Rinsing Techniques for Lightly and Heavily Soiled Kites

When it comes to caring for your kites, rinsing is key, especially for lightly soiled ones. For kites that just have a bit of sand or dirt, a simple shake-out and letting them air dry in the shade is often all you need. It’s like giving them a little refresher without too much fuss.
Now, if your kite is heavily soiled, rinsing becomes a must. But here’s a tip: skip the hosewater! It can have chemicals that might harm your kite’s protective covers and coatings. Instead, use fresh, clean water to give it a gentle rinse. Before you start rinsing, inflate your kite! This little trick makes it easier to get rid of built-up sand and debris, especially from the leading edge, ensuring a thorough clean.
After you’ve rinsed it off, make sure to dry your kite completely before you store it. Leaving it damp can lead to mildew, which can seriously mess with your kite’s lifespan. A little regular maintenance goes a long way—just like you wouldn’t leave sand in your shoes for too long. Speaking of maintenance, let’s chat about how to store your kite properly to keep it in top shape for your next outing!
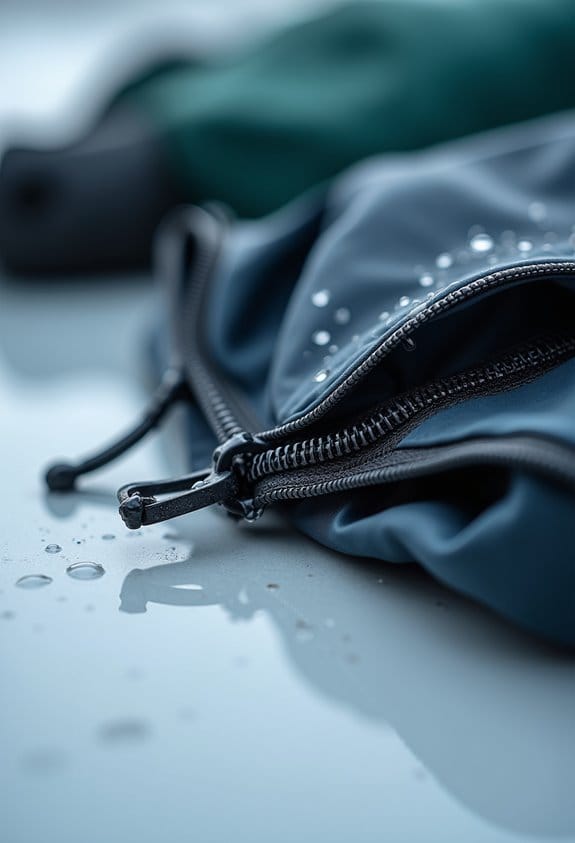
To protect your gear during storage and transport, using a waterproof dry bag can help keep your kite and accessories safe from moisture and potential damage.
Effective Drying Methods to Prevent Damage
Alright, let’s talk about effective drying methods for your kite because getting this right can really help it last longer! Once you’ve given your kite a nice rinse to clean it up, it’s super important to dry it properly. Find a spot with good airflow—this can really speed up the drying process and keeps moisture from building up, which is a culprit for corrosion.
For instance, you might want to set up a fan nearby to ensure all the parts, especially those little moving ones, get a thorough dry. Just remember, try to keep those components separate while they dry to avoid any trapped moisture. If you’re in a humid area, give it at least a full day for everything to dry completely.
After it’s all dried out, don’t forget to lubricate the moving parts! This little step is great for keeping future salt damage at bay and ensuring your kite performs like a champ. Following these drying methods can really make a difference in the life of your gear. Speaking of maintenance, let’s chat about how to store your kite when it’s not in use! Keep a close eye on the durability features of your gear to ensure long-lasting protection.
Identifying Moisture-Trapping Areas During Drying
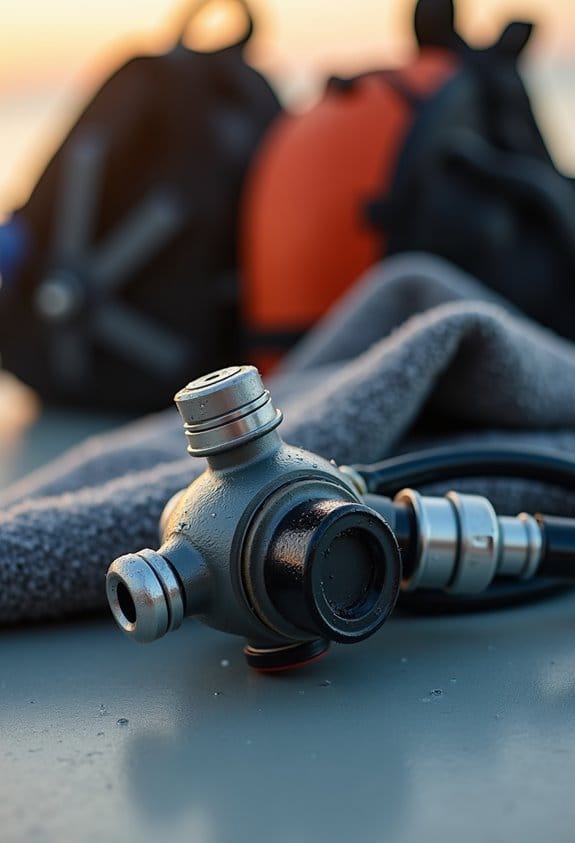
Hey there! Let’s talk about how crucial it is to identify moisture-trapping areas during the drying process of your fishing gear. If you’ve ever used a saltwater fishing rod, you probably know that spots like rod guides, reel seats, and those sneaky hidden compartments can easily trap saltwater and gunk. After rinsing everything off with fresh water, it’s super important to give those spots a good look.
For example, the reel handles and any moving parts need to be separated and positioned in a way that air can circulate around them. This helps reduce the chance of corrosion. Oh, and don’t forget about foam or padding—those can hold onto moisture like a sponge and lead to mildew if they’re not dried out properly.
To speed things up, aim a fan at the areas most prone to moisture. After you’ve done all that, it’s a good rule of thumb to let your gear dry for at least a whole day. This way, you can feel confident that it’s ready to go for your next fishing adventure without the worry of some sneaky moisture causing trouble later on! Now, let’s chat about how to store your gear properly to keep everything in tip-top shape.
Regularly monitoring the condition of your gear during drying can prevent issues like corrosion and mildew formation from developing.
Store Your Gear Properly After Rinsing and Drying
Storing your fishing gear properly after rinsing and drying is super important for keeping it in great shape. After you’ve rinsed off that pesky saltwater with fresh water, find a cool, dry, and dark spot to store everything. A bonus tip: grab a dry cloth to wipe down your gear, ensuring you get rid of any leftover moisture. If you can, wrap your gear in a towel or a t-shirt for added protection against dust or scratches.
When it comes to your fishing rods, always store them upright. Laying them flat can lead to permanent curvature, which you definitely want to avoid. Think about it: you wouldn’t want to pull out a warped rod next time you’re ready to cast your line! Oh, and don’t forget to use protective covers for your rods and reels to keep them safe from dust and bumps.
If you’re planning on storing your gear for a while, consider removing the fishing line from your reels. This can help prevent tangles and wear over time. These simple steps can drastically improve the lifespan of your fishing gear, making sure it’s ready for your next adventure on the water. Speaking of adventures, let’s talk about some essential maintenance tips for your gear before you hit the lake! Also, using mounts made from corrosion-resistant materials ensures your gear stays in top condition even after repeated saltwater exposure.
Easy Maintenance Tips for Gear Longevity
Hey there! If you want to keep your fishing gear in great shape, a little TLC goes a long way. First things first, always rinse your equipment with fresh water right after you’ve used it. This simple step helps wash away any salt buildup that can lead to corrosion and damage down the line. Just remember, warm water is the way to go—hot water can actually cause salt to crystallize, making it stick even more stubbornly.
Now, let’s talk about some hands-on maintenance. After rinsing, it’s a good idea to break down parts like your fishing reels, spools, and handles. Grab a soft-bristled brush to gently clear out any debris that might have snuck in during your fishing trip. It’s similar to cleaning the nooks and crannies in your home—you just get a better overall clean that way.
Once you’ve rinsed and brushed everything down, be sure to dry your gear completely with a soft cloth. Leaving it in a well-ventilated area helps ensure that any leftover moisture evaporates. Trust me, doing this regularly not only extends the life of your gear but also cuts down on the costs of repairs or replacements due to neglect.
And who doesn’t want their gear to last longer? With just a little bit of effort, you’ll be ready for your next fishing adventure! Speaking of which, let’s look at some additional tips on how to store your gear when you’re not using it. Using a waterproof case for storage can further protect your gear from moisture and dust, preserving its condition over time.
Frequently Asked Questions
How Do You Clean Saltwater Fishing Gear?
Cleaning saltwater fishing gear involves proper rinsing techniques with freshwater, focusing on fishing reel maintenance, and using a soft brush. Following these gear longevity tips guarantees saltwater gear care and retains performance by preventing corrosion.
How to Clean a Fly Rod After Saltwater Fishing?
To clean a fly rod after saltwater fishing, perform thorough rinsing techniques with freshwater, focusing on maintenance. This prevents saltwater damage, protects fishing gear, and guarantees corrosion prevention by drying and storing properly.
Can You Use Salt Away on Fishing Rods?
Yes, Salt Away can be used on fishing rods for saltwater corrosion removal, but caution is necessary. Proper rod cleaning techniques and adherence to manufacturer guidelines help maintain protective coatings, ensuring effective reel care and gear longevity strategies.
Can Fly Fishing Reels Get Wet?
Ironically, fly fishing reels thrive on moisture—but only in moderation. Effective fly reel maintenance dictates rinsing after freshwater exposure, ensuring corrosion prevention, protecting bearings, and enhancing fishing gear longevity during proper reel storage between outings.


