As an Amazon Associate, we earn from qualifying purchases. Some links on this site are affiliate links at no extra cost to you. Our recommendations are based on thorough research and editorial judgment.

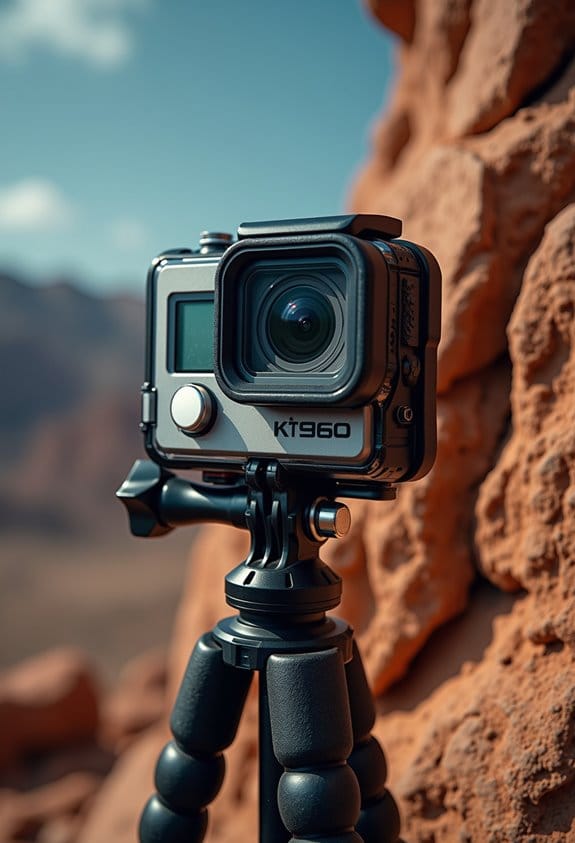
First-Day Action Camera Checklist: Setup Steps Before You Film Anything
To set up your action camera for the first day of filming, start by fully charging the battery and inserting a properly formatted memory card. Check your camera’s resolution, frame rate, and aspect ratio to guarantee ideal quality. Adjust the white balance based on lighting conditions, and confirm exposure settings. Secure all mounts and accessories. Conduct a test recording to verify setup and identify any distractions in your environment. Following these steps will help guarantee a successful filming experience. More details await in the guidelines provided.
Key Takeaways
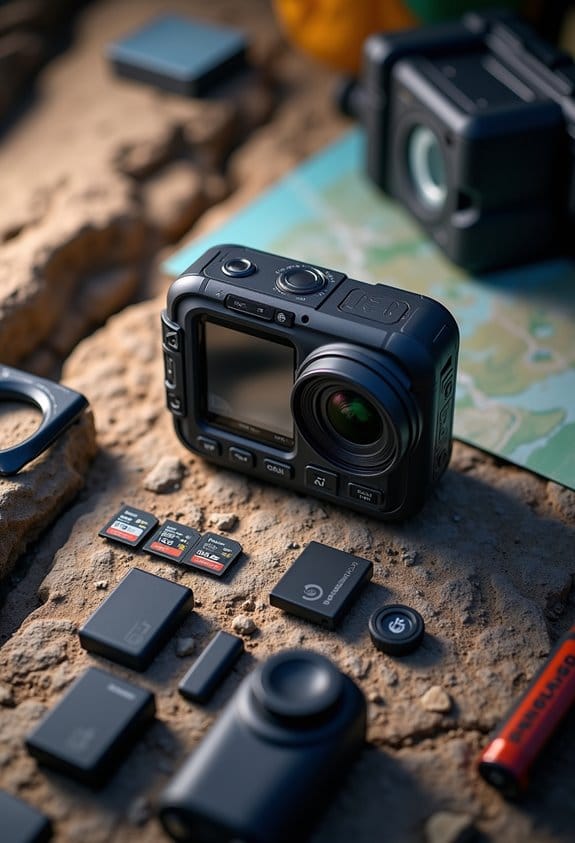
- Charge your action camera battery fully and keep a spare on hand to prevent interruptions during filming.
- Format the memory card before use to ensure optimal performance and storage for new footage.
- Adjust resolution, frame rate, and aspect ratio settings based on your intended filming style and platform compatibility.
- Test your camera by performing a test recording to check audio quality, sharpness, and overall settings.
- Assess your filming environment for distractions, lighting conditions, and stability to ensure high-quality footage.
Charge Your Action Camera Battery to Full Capacity

You may be interested


Hey there! If you want your action camera to perform at its best, don’t forget to charge your action camera battery to full capacity before you head out. This way, you won’t have to worry about running out of juice mid-shoot. Imagine capturing that epic moment only for the camera to shut off—definitely a filmmaker’s nightmare!
When you’re filming in high-resolution, like 4K, your battery can lose power pretty quickly. It’s a smart idea to pack a portable charger or power bank to keep everything running smoothly. Plus, having a spare battery on hand is a lifesaver, especially since older batteries might not hold a charge like they used to.
Another tip? Regularly check on your battery’s health and be strategic about managing your power. For instance, turning off features like Wi-Fi or voice control when you don’t need them can stretch your battery life a bit further. These little tweaks can make a big difference, ensuring that you enjoy a seamless shooting experience. Now, let’s talk about how to get the best footage possible!
To maximize your filming time, consider using a high-capacity battery pack that offers extended shooting hours and fast charging capabilities.
Insert and Format Your Memory Card for Ready Use

Hey there! Before you start filming with your action camera, it’s super important to make sure that the memory card is securely inserted. If it’s not properly in place, your camera won’t recognize it, and you risk missing out on capturing some great footage.
Once you’ve got that card snugly fitted in, the next thing you’ll want to do is format it. Now, this might sound a bit scary, but formatting just means you’re wiping any old data and setting it up fresh for your camera. Each camera has a different way to do this, so just check the menu settings—it’s usually pretty easy to find. For instance, you might navigate to the settings icon, select the memory option, and then choose format. It’s often best to do this in the camera itself rather than on a computer to ensure everything works smoothly together.
And here’s a little pro tip: regularly formatting your memory card, especially after a bunch of recording, can really help keep it running well. It not only boosts performance but also helps ensure that you don’t accidentally lose any important footage down the line. For the best recording results, make sure you use a U3-rated memory card that supports fast write speeds, especially if you’re shooting in 4K. So, next time you gear up for an adventure, keep those tips in mind, and let’s talk about how to get the best shots with your camera!
Confirm Your Action Camera’s Resolution and Frame Rate

When you’re about to film with your action camera, confirming its resolution and frame rate is super important to make sure your footage looks great. For instance, if you set your camera to record in 4K or even 8K, you’ll catch all those tiny details that can bring your clips to life.
Now, let’s talk about frame rates. If you want that classic movie vibe, go for 24 frames per second (fps). But if you prefer something a bit sharper, especially for smoother motion, 30 fps is a good bet. Filming something fast-paced? Try bumping it up to 60 fps. This way, your quick action scenes look fluid, and you’ll have options for cool slow-motion effects when editing.
Just remember to double-check these settings before you get started. It’s easy to overlook them, but adjusting them to fit your filming intentions can save you a lot of headaches later on. Most quality waterproof action cameras also include electronic image stabilization to ensure your videos stay ultra-smooth even during intense movement.
Now that you have your camera set up, let’s go over some tips for framing your shots!
Set Your Aspect Ratio for Optimal Viewing

Hey! So, when you’re using an action camera, picking the right aspect ratio is super important. It really helps your footage look good on all the different platforms you might share it on. For example, if you’re posting on YouTube, the 16:9 aspect ratio is your best friend. It’s perfect for that landscape view we’re all used to. On the other hand, if you’re creating something more cinematic, like a short film, then the 1.85:1 ratio can give your video a more film-like feel.
Most action cameras let you choose from various aspect ratios. For instance, 4:3 gives a more traditional look, while 21:9 can really capture that wide, cinematic scope—think of those epic landscape shots or action scenes where you want to showcase more of the surroundings. It’s all about framing everything just right!
Before you hit that record button, double-check those settings. You don’t want to end up with some annoying cropping issues during editing. It’s all about keeping the quality intact so your final product shines! So, what’s next on your filming checklist? Also, make sure your camera supports 4K video capture to get the best detail and sharpness in your footage.
Adjust White Balance for Accurate Colors

Adjusting the white balance is essential for capturing accurate colors with your action camera right from the start. It’s super important to know the kind of lighting you’re working with—like daylight, tungsten, or fluorescent—because each of these environments has its own white balance setting. For example, if you’re filming outside on a bright, sunny day, you’ll want to set your camera to the daylight option to ensure those beautiful blues and greens pop just right.
Once you have that figured out, you can use either the preset options on your camera or tweak the settings manually to get it just how you like it. A great tip is to include a white or neutral gray object in your frame when setting your custom white balance. This little trick helps you lock in the most accurate colors. Keep an eye on the white balance throughout your shoot, too—if the colors start to look off, adjust it to avoid extra work in post-production. By focusing on these details, you’ll capture footage that’s vibrant and true to life, making it much easier when it comes time to edit! Utilizing adjustable studio lights can further enhance your lighting conditions for optimal video quality.
Moving forward, let’s chat about how different lenses can also impact your color accuracy and overall video quality.
Calibrate Your Exposure Settings Based on Lighting Conditions
Calibrating your exposure settings is crucial if you want to capture great footage, especially when you’re dealing with different lighting conditions. First off, take a moment to look around and judge how bright the space is. If it feels too bright, grabbing an ND filter can help. It acts like sunglasses for your lens, reducing the amount of light hitting the sensor without messing with your depth of field.
Next up, let’s talk about ISO. Keep it as low as you can while still getting a nice, well-exposed image. This is key for keeping that grainy look at bay, especially in well-lit situations. Imagine you’re outside on a sunny day—setting your ISO to 100 or 200 usually does the trick.
When it comes to aperture, the choice depends on your creative vision. A lower f-stop like f/2.8 gives you a dreamy background blur, perfect for portraits. On the other hand, a higher f-stop like f/8 helps keep everything in focus, which is great for landscapes.
Finally, don’t forget about the 180-degree shutter rule. It’s pretty simple: set your shutter speed to double your frame rate. So if you’re shooting at 24 frames per second, your shutter speed should be 1/48. This keeps your motion blur looking natural, which really adds to that cinematic quality.
Additionally, consider using a variable ND filter for easy light control across changing environmental conditions.
Make Sure Accessories and Mounts Are Secure
Hey there! So, before you press that record button on your action camera, let’s make sure everything is good to go, particularly your accessories and mounts. It’s super important to check that your helmet or chest mount is securely fastened. You definitely don’t want it coming loose while you’re capturing an epic moment.
Take a second to look over the screws and clips; make sure they are nice and tight. You can even do a quick test fit of the camera in its mount to see if it sits snugly without any wobble. This little check can really help ensure that your footage looks smooth and professional. Plus, consider using a safety tether—like a lanyard—to add an extra layer of security against accidental drops.
Oh, and don’t forget to regularly inspect everything for signs of wear and tear. These checks can save you from frustrating filming failures when you’re out enjoying your adventures. Also, selecting mounts made from durable materials can significantly improve the reliability of your setup. So, with your gear secure, you’re all set to go capture some amazing footage! What’s next on your filming checklist?
Perform a Test Recording to Verify Camera Setup
Hey there! So, before you jump into filming with your action camera, it’s super important to do a test recording to make sure everything’s set up just right. Start by tweaking the settings like resolution and frame rate so they fit the style of video you’re going for. For instance, if you’re aiming for a smooth cinematic look, you might want to go for 24 frames per second at 4K resolution.
Once your settings are good, hit that record button and grab some sample clips. Pay special attention to the audio levels – you want the microphone to pick up sound clearly, without any weird distortion. For example, if you’re testing it in a noisy outdoor area, don’t hesitate to check if background sound disrupts your main audio.
After recording, take a moment to watch those clips. Look at the framing and focus. Is everything sharp and properly lit? Don’t forget to adjust your exposure if the footage seems too dark or washed out. This is your chance to practice smooth camera movements, like panning or tilting, to ensure everything flows nicely.
And before you wrap up, double-check that your battery is fully charged and that you’ve got plenty of space on your memory card. You don’t want to be in the middle of an exciting shoot and run out of juice! This little prep step can really save you headaches later on, letting you focus on creating killer content. Speaking of which, let’s talk about the actual filming techniques you can use to make your footage shine!
Also, consider testing your setup with stability and mounting options to ensure steady shots and reduce shakiness before you start filming for real.
Look Around: Are There Any Distractions in Your Shooting Environment?
Hey! Let’s chat about the importance of doing an environmental check before you start shooting your footage. It’s super crucial for creating high-quality visuals. Start by looking around—do you see any distractions in your shooting environment? Maybe there’s a cluttered background or some movement nearby that could pull focus from what you’re filming. For instance, if you’re shooting a close-up interview, make sure there’s nothing visually noisy in the background, like people walking by or erratic patterns.
Next up, let’s talk about sound. You might not realize it, but background noise can really mess with your audio quality. Think about it: if you’re shooting outside and you hear distant traffic or construction, that could take away from the message you want to convey. Make sure you’re in a relatively quiet spot or use a good microphone to minimize those distractions.
Now, take a look at the colors around you. Are there any bright hues or contrasting colors in the background that might steal the spotlight from your main subject? If you find a vibrant wall behind your interviewee, it could definitely draw viewers’ eyes away from what you really want them to focus on.
Lastly, pay attention to the lighting conditions. Is there harsh sunlight creating shadows on your subject’s face? That’s something to watch out for! If possible, try filming during the golden hour when the light is softer and more flattering, or use reflectors to bounce light and soften those shadows. Ensuring ergonomic design in your gear setup will also help you maintain comfort and control during your shoot.
Frequently Asked Questions
What Is the 20 30 Rule in Film?
The 20 30 rule, a guiding star in filmmaking, suggests employing cinematic techniques that involve shooting at least 20 seconds per scene and completing 30 takes, enhancing storytelling elements and ensuring an abundance of footage for editing.
What Are the 5 C’s of Film Making?
The 5 C’s of filmmaking—Content, Camera, Composition, Cut, and Continuity—serve as essential cinematic concepts. These filmmaking elements collectively shape narrative structure, visual storytelling, and the overall coherence of a film’s artistic vision.
What to Do Before Filming?
Before filming, thorough preparation tips are essential. Conduct equipment checks, ensuring batteries are charged, and SD cards are formatted. Familiarizing oneself with camera settings and environment can make all the difference for a smooth shoot.
What Are the 7 Basic Camera Movements?
The seven basic camera movements are pan, tilt, dolly, truck, pedestal, zoom, and roll. These techniques enhance shot composition and camera angles, making scenes dynamic and engaging for the audience through various perspectives and movements.