As an Amazon Associate, we earn from qualifying purchases. Some links on this site are affiliate links at no extra cost to you. Our recommendations are based on thorough research and editorial judgment.
How to Do a Test Shoot: Validating Settings Before a Big Trip
Conduct a test shoot to validate your camera settings before an important trip. Choose accessible locations that suit your desired mood, and scout for ideal lighting conditions. Configure your camera by adjusting exposure settings, and experiment with different lenses and compositions. Capture images during golden hour for the best light. After your shoot, review your images for technical flaws and note adjustments for future reference. Insight gained here will improve your next outing considerably as you continue your preparations.
Key Takeaways
- Select accessible locations with good lighting, and scout using tools like Google Maps to ensure the desired atmosphere for your test shoot.
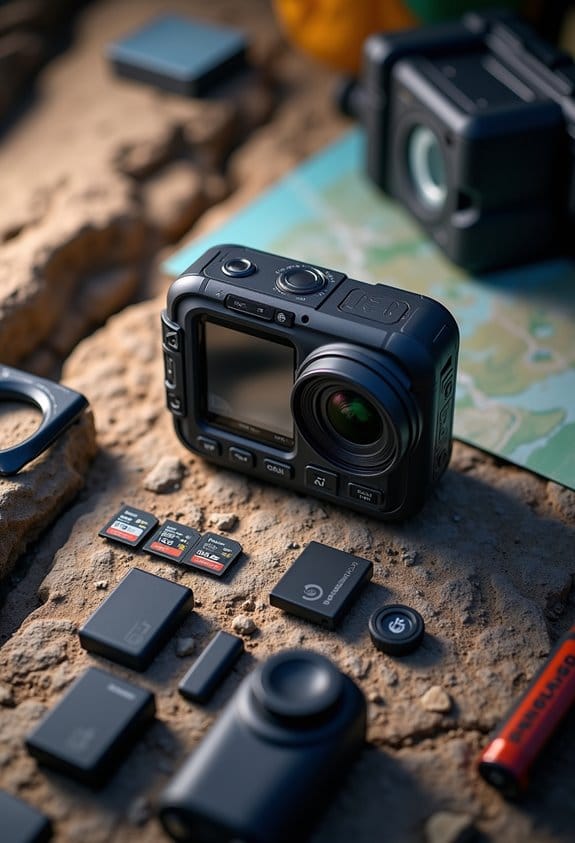
- Prepare thoroughly by charging action camera batteries, organizing test images, and cleaning equipment with a lens pen for optimal performance.
- Adjust camera settings by experimenting with the exposure triangle: aperture, shutter speed, and ISO, in various lighting conditions to understand behavior.
- Utilize golden hour for the best lighting and conduct test shots at different times to capture variations; use reflectors or diffusers as needed.
- Review your images post-shoot for exposure, sharpness, and composition to identify flaws and document settings and outcomes for future reference.
The Importance of Test Shoots Before Your Trip

You may be interested


Hey there! So, let’s talk about test shoots—you know, those practice sessions photographers do before heading out on a big trip. They’re super important because test shoots help you figure out your camera settings and how your gear performs in different conditions. For example, you might find that your white balance needs tweaking when you’re shooting in bright sunlight versus indoors.
Also, while you’re out there experimenting, you can play around with different angles and compositions. This not only sharpens your skills but also helps you tell a better story through your photos. Let’s say you spend the day shooting at a local park; by the end of it, you might discover that low angles create really dramatic portraits, which you might not have thought about initially.
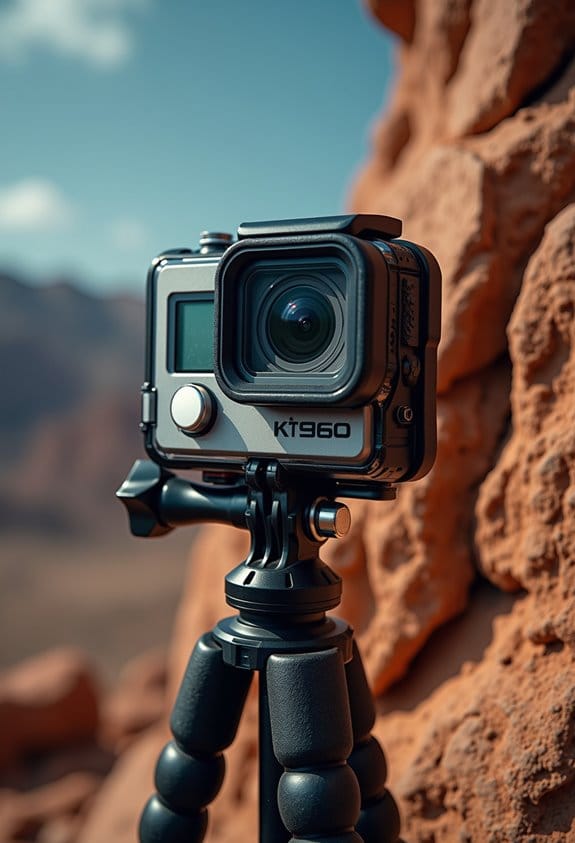
Plus, test shoots give you a chance to check for any equipment issues before your actual trip—nobody wants their camera malfunctioning when they’re in a beautiful location, right? So, taking the time for these practice runs ensures you capture the best images possible when you’re out on an adventure. They really set the stage for a successful photographic outing! In addition, having reliable action camera storage solutions can protect your gear during test shoots and travel, making your experience more worry-free.
Choosing the Best Location for Your Test Shoot

Choosing the best location for a test shoot is super important if you want to get the results you’re dreaming of. Think about where the vibe and theme of your shoot really come to life. For example, if you’re going for a moody, urban feel, a gritty warehouse or a graffiti-covered wall could be perfect. On the other hand, if you want something bright and airy, a sunlit park or a beach might be your best bet.
When picking a spot, make sure it’s easy for everyone to get to. You’ll also want to consider the lighting — natural light can change a lot throughout the day, so look for places that can offer different looks at different times. Using tools like Google Maps or Street View can help you scout unique angles ahead of time, so you’re ready to experiment when you get there.
Before you settle on a location, check if you need any permits or permissions. It would be a bummer to get there and find out you can’t shoot! And while you want to choose somewhere manageable for your crew, don’t shy away from spots that spark your creativity. The perfect location can set the tone for an amazing shoot, inspiring you and your team as you capture some great images. Also, consider the advantages of using wide and telephoto lenses to capture diverse perspectives at your chosen location. Now that we’ve covered location, let’s think about how to set the right mood on the day of the shoot!
Configuring Your Camera for Optimal Performance
Getting your camera set up for peak performance is really important if you want to nail those test shots. Start by checking how your camera behaves in different lighting scenarios—this way, you know what adjustments you need to make. For instance, when shooting in bright sunlight, you might want to lower your ISO or close down your aperture to avoid overexposure.
Play around with the metering modes, too. Each one measures light differently, so take some test shots at various settings to see how they affect your exposure. The exposure triangle—aperture, shutter speed, and ISO—plays a big part here. If you change one element, you might need to tweak the others, like when you’re capturing fast action; you might want to increase your shutter speed to freeze the motion while adjusting ISO for light sensitivity.
Also, test your autofocus on moving subjects, like a friend running or a dog playing in the park. This practice helps ensure your camera locks focus quickly when it matters most. And don’t forget to keep a handy checklist of your go-to settings for different scenarios—this can really help streamline your workflow and prevent mistakes during a shoot. Lastly, keeping your camera bag organized is key; you’ll want everything at your fingertips when the moment strikes. Using a stabilization gimbal during test shoots can significantly improve footage smoothness and reduce motion blur. With all this in place, you’re setting yourself up for a smooth experience. Now, let’s talk about the specifics of adjusting settings for different environments!
Test Shooting: Exploring Lenses and Composition Techniques

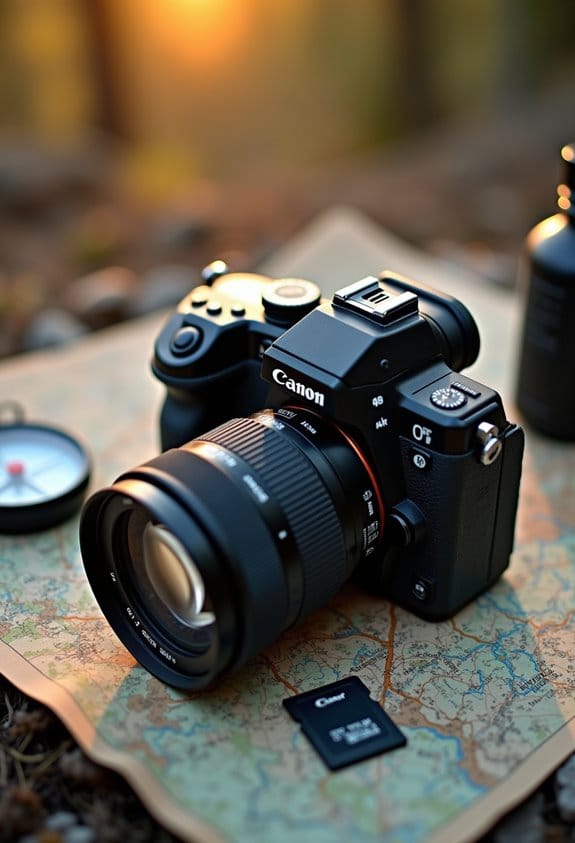
Hey there! You know, when it comes to photography, test shooting with different lenses can really take your skills to the next level. It’s a fantastic way to find the focal lengths and apertures that work best for your style and the subjects you love to capture. For instance, if you typically shoot landscapes, playing around with a wide-angle lens can give you that sweeping view, while a prime lens might be perfect for portraits.
When you’re out there experimenting, don’t forget about composition techniques! Simple things like the rule of thirds—or using leading lines—can make your images pop. Picture this: instead of just placing your subject in the center, try positioning them off to one side following the rule of thirds, and see how it changes the vibe of your shot.
Also, varying your lighting conditions is key. Shooting at different times of day allows you to practice adjusting your camera settings—like ISO, shutter speed, and aperture—so you can find that perfect exposure. And hey, make sure to jot down your favorite settings and the compositions that worked out well; they’ll be super handy for your future travel photography projects!
Regularly test shooting not only sparks creativity but also hones your technical skills. This practice helps you feel more at ease when the unexpected happens, allowing you to adapt quickly in those dynamic environments. Speaking of which, let’s chat about how you can maximize your test shoots by setting clear goals!
In addition, using a camera with a lightweight design can significantly improve your comfort and flexibility during extended test shoots.
Finding the Best Light for Your Shots

Finding the best light for your photography is all about timing and where you choose to shoot. The golden hour is a magical time—it’s just after sunrise and just before sunset—when the light is soft and flattering. This natural light can make your photos pop in ways that the harsh midday sun just can’t. For instance, if you’re shooting a portrait, try to get outside during golden hour; it can reduce shadows on your subject’s face and create a warm glow.
Now, speaking of midday sun, it can be pretty tough. You might end up with dark shadows and overly bright spots, which aren’t ideal for most shots. If you find yourself outside when the sun is at its height, look for some shade or wait for a cloudy day when the light diffuses nicely. And hey, don’t forget to do a few test shots at different times—sometimes, you’ll be surprised by how different the same scene can look with just a shift in lighting.
Using tools like reflectors and diffusers can also help you shape and modify the available light. For instance, a simple white reflector can bounce light back onto your subject, softening those harsh shadows. Always keep an eye on the weather too; a cloudy day can provide beautiful, even lighting that works great for certain styles of photography. Balancing these elements can make a big difference in your shots, setting you up for success as you continue your photography journey. To ensure uninterrupted shooting during your test shoot, it’s helpful to have high-quality action camera batteries ready to go.
Reviewing and Analyzing Your Images After the Shoot
Hey there! So, let’s chat about reviewing and analyzing your images after a test shoot. It’s super important to help you improve your photography skills. First things first, create a special folder on your hard drive just for those test shoot images. And don’t forget to back it up! Losing your hard work is a bummer.
Once you have your images organized, take some time to go through them methodically. Check for things like exposure, sharpness, and composition. For instance, if a photo is slightly blurry, that’s a technical flaw you’ll want to note. You might also find that a certain shot has great lighting but poor composition—those notes will guide your next shoot.
To make the process easier, try ranking your images from 1 to 5. This helps you quickly spot your strongest shots. After that, jot down any adjustments you think you should make for future shoots, like tweaking your camera settings or trying new techniques. And you know what? Sharing your favorite images on social media or with friends can be a great way to get constructive feedback.
Remember, keeping your equipment clean with a reliable lens pen cleaner helps maintain image clarity and ensures the quality of your shots.
This whole review process really hones your skills and gets you ready for any upcoming photography adventures, whether it’s summer or winter! So, let’s move on to talking about how to prepare for your next location shoot.
How to Utilize Insights for Your Upcoming Trip
Hey there! Planning a trip is super exciting, but it really helps to tap into insights from past experiences—especially if you’ve done any test shoots before. Think about creating a moodboard, which is basically a visual tool that showcases the vibe you’re going for in your photography. For example, if you’re aiming for urban street shots, gather images that capture those gritty textures or vibrant colors.
When you get out there for your test shoots, try to team up with a few friends or fellow creatives. They can give you fresh perspectives and feedback on what works and what doesn’t. And don’t forget to experiment with lighting! For instance, if you’re shooting in the golden hour, play around with shadows and highlights to see how they change your images.
Make sure to jot down notes about what settings you used and what the outcomes were. This way, you’ll have a handy reference when you’re out on your photo tours, making it easier to recall what worked best for your style. Finally, take a good look at your images to refine your techniques and adjust your approach for your upcoming adventures. It’ll really help you capture the essence of your trip! As you gear up for your journey, let’s talk about how to choose the right locations for your shots.
Also, keeping your gear organized in a waterproof accessory storage bag can protect your equipment and streamline your setup during these shoots.
Frequently Asked Questions
What Is the 20 60 20 Rule in Photography?
The 20 60 20 rule in photography emphasizes a 20 60 breakdown of composition: 20% creative shots, 60% reliable techniques, and 20% experimental images, balancing lighting impact, subject placement, exposure balance, and enhancing visual storytelling.
How to Prepare for a Test Shoot?
To prepare for a test shoot, one must canvas the scene like a painter, meticulously crafting a gear checklist, scouting locations, adjusting lighting setups, directing models with clarity, and orchestrating timeline planning like a symphony conductor.
What Is the 400 Rule in Photography?
The 400 Rule in photography dictates maximum shutter speed to prevent motion blur, integrating exposure triangle principles. It guides camera settings, lens selection, and composition techniques, vital during test shoots to adapt to light conditions accurately.
What Are the 7 C’s of Photography?
In the world of photography, the 7 C’s—Capture, Composition, Creativity, Communication, Consistency, Context, and Critique—intertwine like threads in a tapestry, encompassing composition techniques, lighting effects, color theory, equipment choices, subject framing, and shot angles.