As an Amazon Associate, we earn from qualifying purchases. Some links on this site are affiliate links at no extra cost to you. Our recommendations are based on thorough research and editorial judgment.

Recording DIY Projects: Best Angles for Hands-On Tutorials
To effectively record DIY projects, select a combination of angles that enhance clarity. Use wide shots to capture the workspace and medium shots to focus on key steps. Incorporate overhead angles for a thorough view, using a stable setup. Close-ups highlight intricate details, while side angles clarify hand movements. Maintain steady shots with tripods, and guarantee proper lighting to reduce shadows. These techniques facilitate an engaging tutorial, revealing techniques that improve viewer understanding and retention.
Key Takeaways
- Utilize wide shots to capture the overall workspace and context of tools and materials used in the DIY project.
- Implement close-up shots to emphasize intricate actions and techniques for better clarity on small details.
- Incorporate medium shots to maintain viewer engagement while highlighting important steps throughout the tutorial.
- Create stable overhead shots using a solid rig while ensuring proper lighting to minimize shadows and improve visibility.
- Mix perspectives by alternating between angles to keep the tutorial visually engaging and enhance viewer understanding of key techniques.
Selecting Angles to Showcase Your DIY Projects

You may be interested


When you’re picking angles to show off your DIY projects, think about the different types of shots you’ll need to really get your point across. Wide shots are great for giving viewers a sense of the whole setup—you want them to see your workspace and the materials you’re using before you get into the nitty-gritty. For example, if you’re working on a woodworking project, a wide shot can show your tools and the wood pieces laid out so people understand what’s coming next.
On the flip side, close-ups are super important for highlighting the smaller details. These shots allow your audience to really see how you’re holding tools or making precise cuts. So, if you are adding a delicate design on a craft, a close-up can show exactly how to position the brush or tool. Mixing in some medium shots can keep things visually interesting, while still focusing on the key steps. Don’t forget to keep your camera steady and at a consistent height; this makes your video look polished and professional, which helps viewers stay engaged. Using mounts with adjustable components can help you maintain these ideal angles and stability throughout your tutorial.
Mastering Overhead Shot Techniques

Hey there! Let’s talk about mastering those overhead shot techniques for your DIY tutorials. It’s all about careful planning and execution to really bring your projects to life. First, you’ll want to choose a solid setup. You could either make a simple DIY PVC rig if you’re on a budget, or invest in a professional C-Stand rig if you’re looking for something sturdy and versatile.
When you position your camera, try angling it at about 45 degrees. This little tip helps create a sense of depth in your shots, making it easier for viewers to follow along with what you’re doing. And don’t forget about your lenses—using a wide-angle lens can really pull viewers into your workspace, helping them see more of the environment and feel like they’re right there with you.
Lighting is another crucial piece of the puzzle. Good options are ring lights or box lights, which can help reduce shadows and ensure that all the details of your project shine through clearly. Focus on keeping distractions to a minimum in your overhead shots, as this really directs your audience’s attention to those intricate steps.
To get the best visibility in low-light conditions, consider incorporating adjustable brightness levels in your lighting setup.
These techniques not only make your tutorials visually appealing, but they also enhance the learning experience for your viewers. With these tips in hand, you’re ready to take on your next project with confidence! What DIY project do you have in mind?
Utilizing Close-Ups and Side Angles for Detail
If you’re diving into a DIY project, don’t underestimate the power of close-ups and side angles—they’re your best friends! Close-ups really shine when you need to highlight those tiny details, like the way a specific tool interacts with a delicate part. For instance, if you’re assembling a model, zooming in on how the glue meets the surface can help others see exactly how much to use.
On the other hand, side angles give us a nice wide view of your hands at work, which is super helpful for viewers trying to grasp the technique. Imagine you’re showing how to cut wood; a side angle allows people to see how you’re holding the saw and where you apply pressure. Mixing up these perspectives not only makes your tutorial more interesting but also helps everyone follow along seamlessly. Using a shoulder strap mount can provide stable and hands-free recording, allowing you to focus fully on demonstrating your techniques.
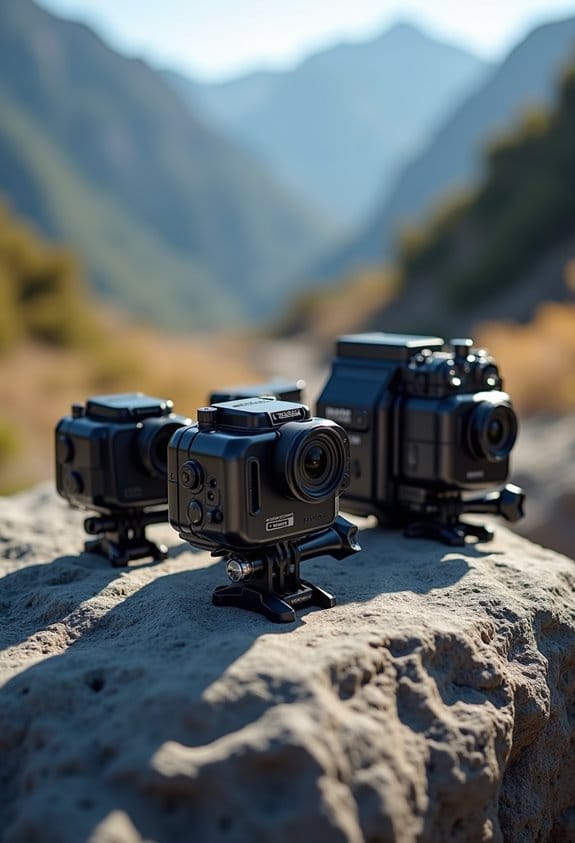
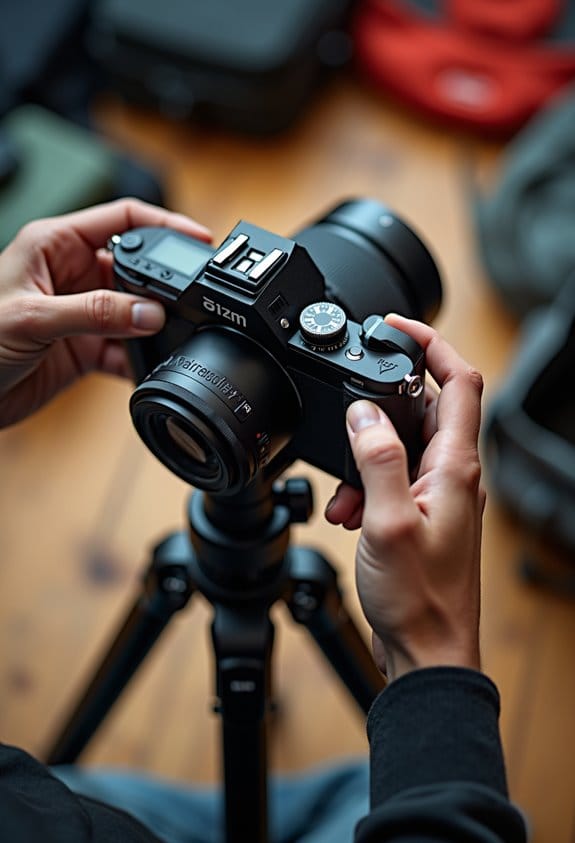
Must-Have Equipment for DIY Filming
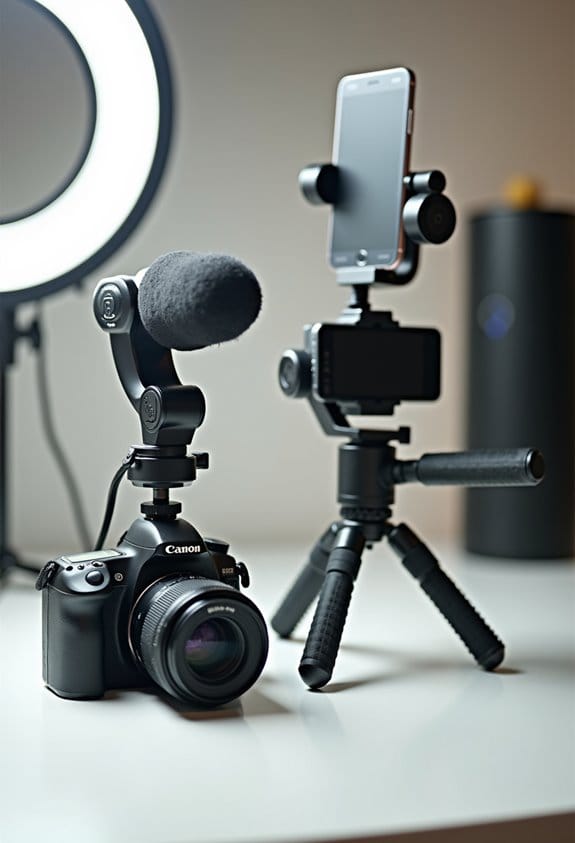
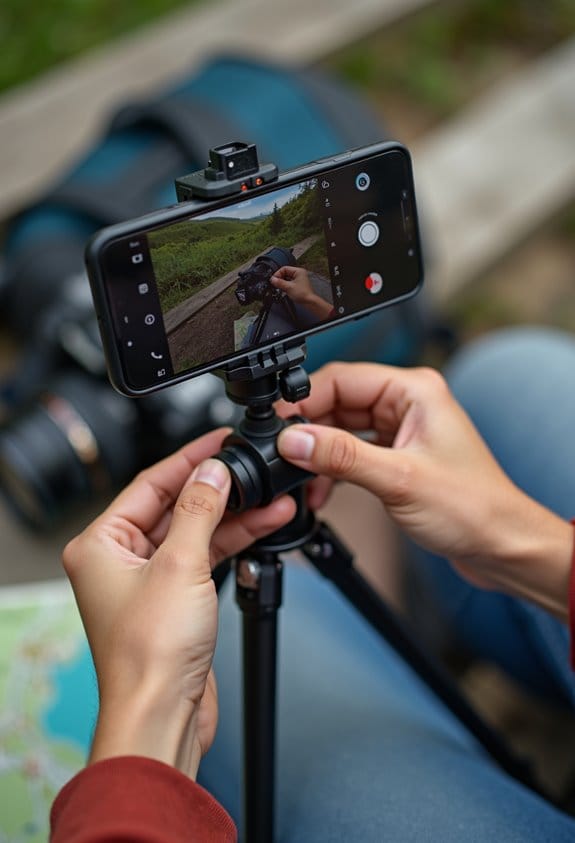
Hey there! If you’re getting into DIY filming, having the right equipment can make a world of difference in the quality of your videos. First up, a reliable tripod is a must-have. It keeps your camera steady for those overhead shots, making sure your framing stays consistent – and nobody wants a shaky video!
Next, let’s talk lighting. Clamp-on lights are great because they help you brighten up your space and reduce those pesky shadows. If you really want to step up your game, consider using box lights or ring lights; they can work wonders in making your tutorials clear and inviting. Plus, for those of you filming with smartphones, a cellphone holder adapter for your tripod will make your life so much easier.
Now, let’s not forget about sound quality—it’s just as important as the visual aspects. Using a boom mic or a lavalier mic can drastically improve the clarity of your audio, which is essential for viewers to follow along without straining to hear you. Clear audio can really enhance your instruction, keeping viewers engaged and informed.
Additionally, using protective camera housings can safeguard your equipment from damage while filming in various environments.
Editing Techniques to Emphasize Key Tutorial Moments
When you’re making DIY tutorial videos, effective editing techniques can really take your content to the next level! One great tip is to use cross-fading—this means smoothly transitioning from one clip to another without jarring cuts. It makes everything feel more cohesive and keeps your viewers hooked. For instance, if you’re showing how to paint a room, you could cross-fade from the prep work to the actual painting, which creates a nice visual flow.
Changing camera angles is another excellent way to highlight important steps or details. Let’s say you’re weaving a basket; if you switch from a wide shot to a close-up when you’re adding the final touches, it helps the viewers see exactly what you’re doing. Adding cutaway shots of the materials or tools can reinforce your explanation, too. If you’re using a unique brush, a quick close-up can really clarify its importance.
Don’t forget about your audio! Record some extra room tone for those moments when you need to merge two audio clips. This keeps everything sounding smooth and professional. Lastly, be sure to cut out any unnecessary footage. Shortening your video can help maintain your audience’s attention on the most important actions, which really enhances clarity.
With these editing techniques, you’ll create tutorials that are not only informative but also engaging and easy to follow! Want to explore how to choose the right clips for your next project? Let’s jump into that!
Also, choosing the right memory cards for recording can ensure your footage is captured reliably and at high quality, preventing any interruptions during filming.
Frequently Asked Questions
What Is the Best Angle to Film Yourself?
The best angle to film oneself combines eye-level camera positioning for engagement and medium shots for clarity. Effective filming techniques also include high and close-up angles, enhancing visual detail while maintaining viewer connection.
How to Make Professional Tutorial Videos?
To create professional tutorial videos, prioritize a proper lighting setup and guarantee excellent audio quality. Utilize varied angles for engagement, and draft detailed scripts to maintain clarity and cohesiveness throughout the filming process.
What Are the 13 Techniques for Great Videography?
Mastering great videography requires a symphony of techniques; crafting an impeccable lighting setup and achieving pristine audio quality are paramount. Incorporating dynamic shot angles and thoughtful composition further elevates visual storytelling into an enchanting experience.
How Do People Film Themselves From Above?
People film themselves from above by utilizing various equipment setups, such as tripods with adjustable arms or DIY rigs. Overhead filming enhances visibility, ensuring thorough coverage of the workspace for more effective instructional content.