As an Amazon Associate, we earn from qualifying purchases. Some links on this site are affiliate links at no extra cost to you. Our recommendations are based on thorough research and editorial judgment.

Wind Noise Troubleshooting: Placement, Settings, and Simple Wind Shielding
Wind noise can greatly impact audio recordings, so it’s crucial to use effective shielding and placement techniques. Use foam windscreens or deadcats to soften wind gusts, and position the microphone as close to the sound source as possible. Angle it away from the wind direction, and test various placements. Adjust settings like gain levels, and use high-pass filters to minimize low-frequency noise. Implement these strategies to enhance your audio quality, as more tips are available for deeper insights.
Key Takeaways
- Position the microphone close to the sound source to minimize wind noise interference during recordings.
- Use foam windshields or deadcats to effectively reduce wind noise impact on your microphone.
- Angle the microphone away from the wind direction to enhance clarity and reduce low-frequency wind rumble.
- Adjust microphone gain and use high pass filters to eliminate unwanted low-frequency wind noise.
- Test different placements and environments to identify optimal setups for clear audio with minimal wind interference.
What Is Wind Noise and How Does It Affect Your Audio Recordings?
You may be interested


Hey there! So, when we talk about wind noise, we’re really touching on those annoying sounds that pop up when strong winds shake the tiny parts inside a microphone. Imagine you’re recording a beautiful moment outside, and suddenly, your audio is filled with that low rumbling noise instead of the clear sounds you want. This wind noise typically hangs out in the lower frequencies, between 20Hz and 250Hz, which can easily drown out softer sounds, like a friend’s voice.
To tackle wind noise effectively, you might want to try a directional microphone, like a shotgun mic. These mics are great because they focus on sounds coming from one direction, helping to filter out the wind from the sides. But sometimes, just using this type of mic isn’t enough. Pair it with a good windscreen, like a foam cover or a “deadcat” (which is just a fluffy cover made to block wind), to really clean up your audio.
Oh, and don’t forget about microphone placement! Try to position it away from the direct blast of the wind whenever possible. Just a few simple adjustments can make a world of difference in the clarity of your recordings. With these tips in your back pocket, you’re already on your way to capturing those crisp sounds you really want. So, let’s dive into some other factors that can affect your audio.
Additionally, using a remote control with a long control range can help you adjust settings without disturbing the microphone placement during outdoor recordings.
Simple Shielding Solutions for Reducing Wind Interference

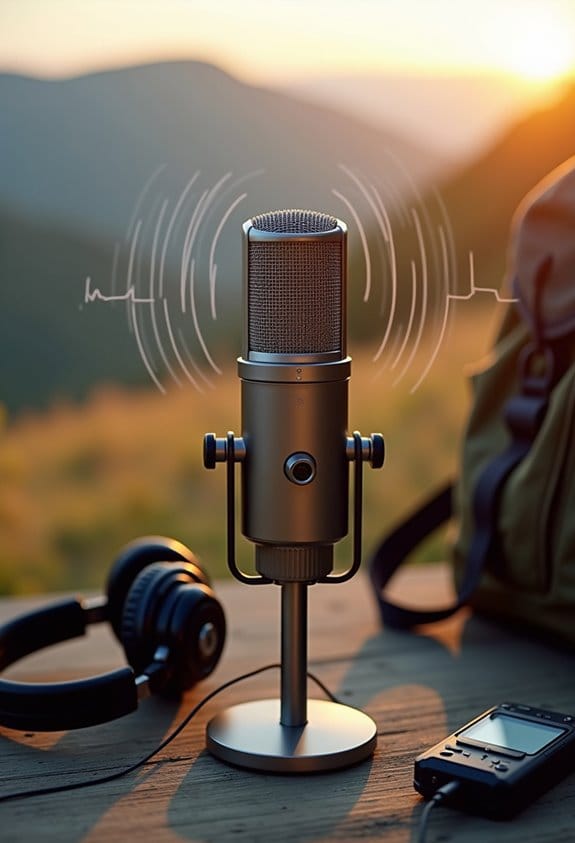
When you’re out capturing audio in the great outdoors, one of the biggest challenges you’ll face is wind interference. To tackle this issue, you can start with some foam windshields, which are great for softening those pesky gusts and keeping your recordings clear. If you need more protection, think about adding an external deadcat—those furry covers absorb even more wind due to their thicker material.
For the ultimate shield against wind noise, consider using a blimp, which completely surrounds your microphone and even has shock mounts to help reduce vibrations. For example, if you’re recording a musician outdoors on a breezy day, a blimp can keep the audio quality pristine, preventing distracting wind noise from ruining the take. Just make sure to assess your shooting conditions beforehand, as different setups might require different levels of shielding.
Using something like a Rycote Windjammer can work wonders too, as it effectively blocks wind from hitting your microphone diaphragm. By prioritizing the right wind protection, you ensure your audio remains clear and high-quality, vital for capturing the nuances of your project. Speaking of capturing great sound, let’s talk about some techniques for positioning your microphones effectively. Additionally, choosing microphones with built-in noise-canceling technology can significantly enhance audio clarity in windy environments.
Best Microphone Placement for Reducing Wind Noise

Hey there! If you want to keep wind noise at bay during your audio recordings, let’s chat about the best microphone placement. The key is to get that microphone as close to your sound source as possible. A cool trick is to tuck it inside your talent’s clothing, like near the collar, which really helps cut down on those pesky gusts.
Another thing to try is to find some natural barriers around. You know, things like trees or walls that can break the wind? Positioning the microphone on the side of the barrier that’s sheltered from the wind can do wonders. And here’s a gem: make sure the mic faces away from the wind’s direction. That little change can make a big difference in reducing unwanted noise.
Also, using a directional microphone can help because it picks up sound from the front while cutting out noise from the sides. So, if you’re recording an outdoor interview, angle it just right for the cleanest sound. Remember to do a few test recordings in different spots to see what works best. You might be surprised by how much a slight adjustment can improve your audio quality!
Now, let’s think about how to manage other sounds in your recordings. Soundproofing techniques can also play a big role in enhancing clarity! Additionally, using ergonomic camera harnesses can improve your shooting comfort and stability, indirectly helping you maintain steady mic placement for better sound capture.
How to Tackle Wind Noise With Effective Settings

When you’re out recording audio, especially outdoors, you might notice that pesky wind noise can really mess things up. To tackle wind noise effectively, there are some smart settings you can use. First off, try using high pass filters on your microphone. These filters help cut out low-frequency wind noise, usually in the range of 20Hz to 250Hz. It’s like giving your recordings a little boost where it counts!
Next, pay attention to your microphone gain levels. Adjust them so that you capture the sound clearly without letting it clip, which means distorting the audio. For instance, if you’re recording a voiceover in a breezy park, find that sweet spot where your subject’s voice shines through, but the wind doesn’t overpower it. Don’t forget to experiment with microphone placements too. Move your mic closer to the sound source, and try to angle it away from the wind. This can make a big difference in the final result.
Lastly, when you’re editing, use EQ tools to tweak those low frequencies further, honing in on the areas that need adjustment while keeping the main audio clear and crisp. By consistently applying these strategies, you’ll find your recordings become much smoother with reduced wind interference. And speaking of recording settings, understanding how to select the right microphone for different environments can elevate your audio game even more! Additionally, using soft neoprene materials for wind protection can offer effective cushioning and moisture resistance during outdoor recordings.
Testing Your Setup for Better Audio Clarity
Hey there! Let’s chat about setting up for crystal-clear audio before that big shoot. Testing your recording setup is super important because it ensures you get the best sound quality and helps you catch any wind noise issues before they become a problem. It’s kind of like practicing before a big performance—you want everything to sound just right!
When you’re doing your test recordings, try them out in different places. You might be surprised at how much the environment affects the wind noise. For example, if you position your microphone close to the sound source, like the person speaking, it often helps reduce that pesky wind noise. You could even try tucking the mic inside a pocket or under your clothes, which can shield it from wind effectively.
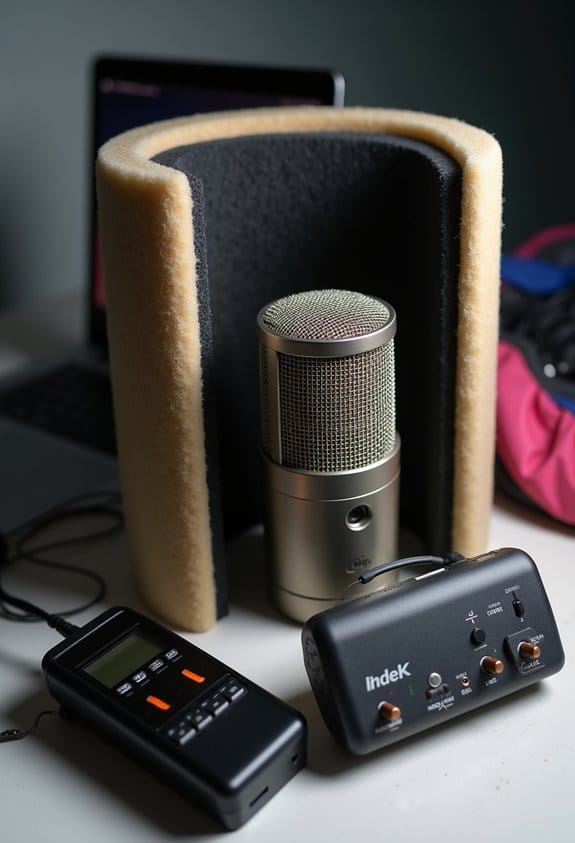
Also, don’t forget to use foam windshields or deadcats! These handy tools can make a significant difference in cutting down wind interference. After you record, take a moment to listen to what you’ve captured. If you hear a bassy wind rumble, that’s your cue to adjust your mic settings or change its location. Getting this right will not only enhance your sound quality but also protect your gear during the actual shoot. So, let’s keep that audio crisp and clear as we move on to other aspects of your recording setup!
For environments with challenging lighting conditions, consider adding action camera lights to improve overall shoot quality while maintaining clear audio.
Additional Resources for Mastering Wind Noise Troubleshooting
If you’re looking to tackle wind noise in your recordings, accessing additional resources is super important for getting that audio quality you want. Joining online forums or communities focused on audio recording can be really helpful because you can swap practical tips with others who’ve dealt with similar issues—especially when working with a mirrorless camera. For example, someone might share how a simple windscreen can make a huge difference when shooting outdoors.
YouTube is another great place to find video tutorials showing wind noise reduction techniques in action. You might find a step-by-step guide on how to create a DIY windscreen using materials you already have at home. Also, don’t forget to check out the specs for your microphones and any windshields you’re using; knowing how they perform in different conditions can save you a ton of headaches later on.
And while you’re at it, take a look at user manuals for noise reduction software like iZotope RX or Audacity. They often have valuable tips on how to clean up your audio during post-production. If you’re really eager to learn, consider signing up for a workshop or a webinar. You’ll get expert insights and some hands-on experience, which can be a game-changer for managing wind noise effectively in all your recordings. Additionally, choosing microphones with noise cancellation features can significantly reduce wind interference right at the source.
Frequently Asked Questions
How to Eq Out Wind Noise?
To effectively EQ out wind noise, one should employ equalization techniques such as high-pass filtering, focusing on sound frequency reduction between 80Hz and 250Hz, while adjusting gains subtly to maintain overall audio clarity.
How to Fix Wind Noise From Windshield?
“An ounce of prevention is worth a pound of cure.” To fix wind noise, optimize wind shield placement, utilize natural windshield barriers, and consider dense materials or diffusion systems to effectively shield against disruptive wind interference.
How to Stop Mic From Picking up Wind?
To stop a microphone from picking up wind, one should focus on proper microphone positioning and utilize windshields. Implementing high pass filters also aids in effective wind noise reduction during recordings, enhancing overall audio quality.
How to Eliminate Window Rattles and Wind Noise?
Like a tightly sealed ship in a storm, eliminating window rattles and wind noise involves effective window sealing and the addition of noise barriers. Solutions include weather stripping, soundproof films, and heavy-duty storm windows for enhanced tranquility.