As an Amazon Associate, we earn from qualifying purchases. Some links on this site are affiliate links at no extra cost to you. Our recommendations are based on thorough research and editorial judgment.

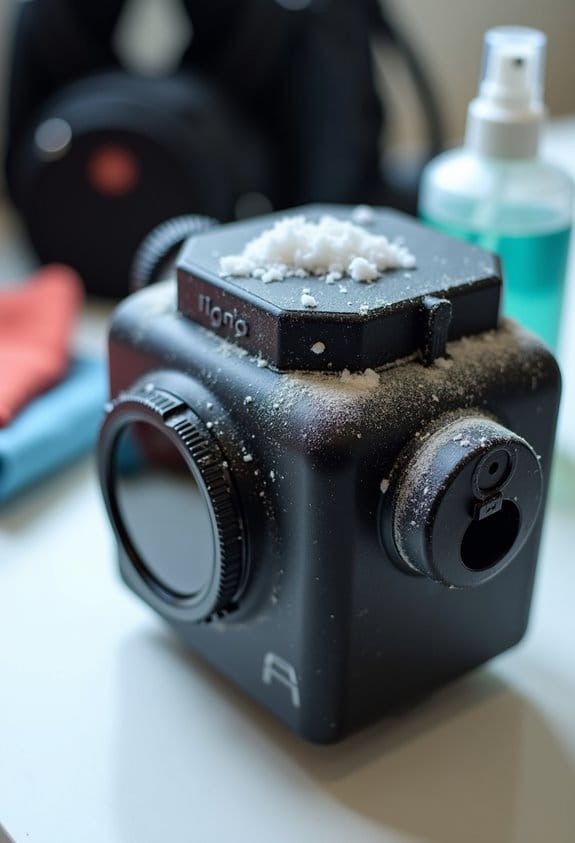
Removing Salt Residue From Housings and Mounts Without Causing Damage
To effectively remove salt residue from housings and mounts without causing damage, first vacuum the area to remove loose salt. Next, mix one cup of white vinegar with three gallons of warm water. Pour this solution on the affected areas and let it sit for 10-15 minutes. Gently wipe surfaces with a microfiber cloth or soft-bristle brush, ensuring all crevices are addressed. Rinse thoroughly to remove any cleaning solution. Knowing how to avoid common mistakes is essential for ideal maintenance.
Key Takeaways
- Vacuum loose salt particles before cleaning to prevent scratches on surfaces.
- Use a mild cleaning solution of 1 cup vinegar in 3 gallons warm water and dish soap.
- Let the cleaning solution sit for 10-15 minutes to effectively break down salt residue.
- Utilize a microfiber cloth or soft-bristle brush to gently remove stubborn salt spots.
- Rinse surfaces thoroughly to eliminate any remaining cleaning solution and prevent residue.
Understanding Salt Residue and Its Impact on Housings and Mounts

You may be interested


Hey! Let’s chat about salt residue and how it affects housings and mounts. You might not realize it, but exposure to sodium chloride isn’t just something to ignore—it can actually cause real damage. Think of it this way: when salt builds up on metals like aluminum and steel, it can lead to pitting corrosion. This isn’t just a surface thing; it can seriously weaken the materials over time, which means your equipment might not last as long as it should.
To keep everything in good shape, it’s a smart move to regularly check for and remove any salt buildup. For instance, after a particularly salty winter, taking a few minutes to wipe down gear with something like a mild citric acid solution can make a big difference. It’s effective at breaking down salt without causing harm, which is a win-win!
Using cases with waterproof materials can also help minimize exposure to salt residue during use.
Supplies for Safe Salt Residue Removal

Hey there! So, if you’re dealing with salt residue, let’s chat about how to safely remove it without damaging your gear. First things first, you’ll need a few essential supplies: some white vinegar, warm water, a microfiber cloth, and a soft-bristle brush. It’s pretty easy to whip up a simple yet effective cleaning solution—just mix one cup of vinegar into around three gallons of warm water. Trust me, this combo works wonders!
Before you start scrubbing, grab a vacuum cleaner to gently remove any loose salt particles. This step is super important; it helps you avoid scratching any surfaces while you clean. And here’s a pro tip: always test your cleaning solution on a small, hidden area first to make sure it doesn’t cause any discoloration. If you run into some stubborn salt spots, use that soft-bristle brush with your vinegar and water mix. A gentle scrub should do the trick without hurting the material underneath.
Once you’ve tackled the salt residue, you’ll feel so much better about your gear. It’s refreshing to see things in good shape again! Now, if you’re interested, I can share some tips on maintaining your equipment to prevent that salt buildup in the first place. Using a microfiber cloth is especially recommended as it provides dust-trapping, scratch-free cleaning capabilities for delicate surfaces.
Practical Tips to Prevent Salt Buildup on Housings
You know, preventing salt buildup on housings is really important if you want to keep them looking good and lasting long. One easy way to do this is by using alternatives to traditional salt, such as sand or even kitty litter. They won’t harm the surfaces as much, plus they provide some traction on slippery areas!
Another tip is to sweep the areas before and after winter hits. This helps remove any initial salt deposits, which can lead to stains if left there for too long. A good practice is to seal the outer surfaces once a year, too; it helps create a barrier against salt absorption and makes cleaning way easier.
Keeping an eye out for visible salt is crucial as well. If you see any deposits, deal with them quickly to prevent corrosion. And don’t forget to rinse everything with fresh water after a snowstorm, especially where the salt was spread. Regular cleaning after exposure also applies to protective housings on devices like GoPros to maintain their material durability. With these simple steps, you can keep salt buildup at bay and protect your homes over the winter months. Plus, it makes the cleaning process a breeze when the season is over!
Step-By-Step Guide to Salt Residue Cleaning

Cleaning salt residue from housings and mounts is super important for keeping everything looking good and working right. First off, you’ll want to vacuum the area really well to get rid of any loose salt and debris. It’s like giving your surfaces a little warm-up before the real cleaning begins!
Next, let’s whip up a simple cleaning solution. Just mix 1 cup of white vinegar with about 3 gallons of warm water and toss in a few drops of liquid dish soap—this helps tackle any stubborn spots. Pour this mixture over the affected areas, and let it sit for about 10-15 minutes. Think of it as letting the solution work its magic on the salt residue.
Once that’s done, grab a microfiber mop or a soft cloth to gently wipe the surfaces clean. Make sure you’re drying everything off, as you don’t want any lingering moisture. Oh, and always do a quick test on a small, unnoticeable area first—this way, you’ll be sure the solution is safe for your housing or mounts. Trust me, taking these few extra steps will keep everything looking fresh and in great shape!
To ensure the longevity of your equipment, it’s also crucial to maintain all high-quality connections and clean interfaces regularly to prevent salt damage from affecting video quality and system performance.
Now, if you’re curious about how to prevent salt residue buildup in the first place, let’s jump into some preventive measures!
How to Avoid Common Cleaning Mistakes?

Cleaning salt residue can be a bit tricky, but if you take a few precautions, you can do it without causing any damage. First off, always make it a point to test any cleaning solution on a small, hidden area of the surface. You want to make sure it won’t harm the finish before you go all out on the entire area. A simple mix of vinegar and water usually works great for mild cleaning; just avoid those harsh chemicals since they can ruin finishes.
When you’re ready to tackle the salt, remember to be gentle. Instead of scrubbing hard, just dab at the affected areas with a soft cloth. This technique helps you avoid scratches, which can make things look worse. Using microfiber cloths can really help too—they lift up dirt without damaging the surface.
After you’ve given everything a clean, don’t forget the rinse! Make sure to rinse the surfaces well to get rid of any leftover cleaning solution. If you leave residue behind, it can just attract more dirt and moisture, which defeats the whole cleaning process. Lastly, give everything a good dry to keep your surfaces in tip-top shape. It’s a small step, but it really helps in maintaining your home. If you’re dealing with specific surfaces or materials, that’s a whole other conversation we can have on how to care for those!
Using protective covers such as those made from soft, flexible silicone can prevent damage and make future cleanings easier.
When to Seek Professional Help for Salt Residue Issues
Hey! So, you might be wondering when it’s time to call in professionals for salt residue issues. If you’ve noticed a hefty buildup that’s causing noticeable damage, it’s definitely time to reach out for expert help. They have the right tools and eco-friendly products that can effectively get rid of salt residue without harming your surfaces.
For instance, if you’ve tried scrubbing away stubborn stains with no luck, professionals can use specialized treatments like Neutra Salt or citric acid. These work wonders on different materials and get to the root of the problem. Plus, if you have those hard-to-reach areas or larger spaces where salt has become a real issue, having a professional handle it ensures everything gets cleaned safely and thoroughly.
And don’t forget, regular maintenance from the pros can really help protect your investment in the long run by preventing corrosion from salt exposure. So, if you’re seeing signs of trouble, it might just be worth that call for the best results! Proper O-ring maintenance is also crucial, as it helps prevent leaks and further salt damage to your underwater housing.
Frequently Asked Questions
What Dissolves Salt Buildup?
Natural remedies such as vinegar solutions and baking soda effectively dissolve salt buildup. The acidic properties of vinegar combined with the neutralizing ability of baking soda create a powerful approach to eliminating unwanted salt deposits safely.
Does WD-40 Remove Salt?
WD-40 can aid in removing salt, offering applications for loosening residues. However, it is not primarily designed for salt corrosion prevention or metal surface protection, requiring additional measures for thorough cleaning and safeguarding.
How to Remove Salt Buildup on Metal?
Gently scrubbing with a soft brush contrasts the harshness of salt corrosion. Effective metal cleaning techniques include eco-friendly solvents like vinegar or baking soda, ensuring thorough rinsing afterward to enhance salt corrosion prevention and preserve metal integrity.
How to Neutralize Salt on a Car Frame?
To neutralize salt on a car frame, employing effective salt neutralizing techniques and alternative cleaning solutions can greatly enhance vehicle longevity, ensuring that salt buildup doesn’t compromise the integrity of the vehicle’s materials and finishes.


